Introduction
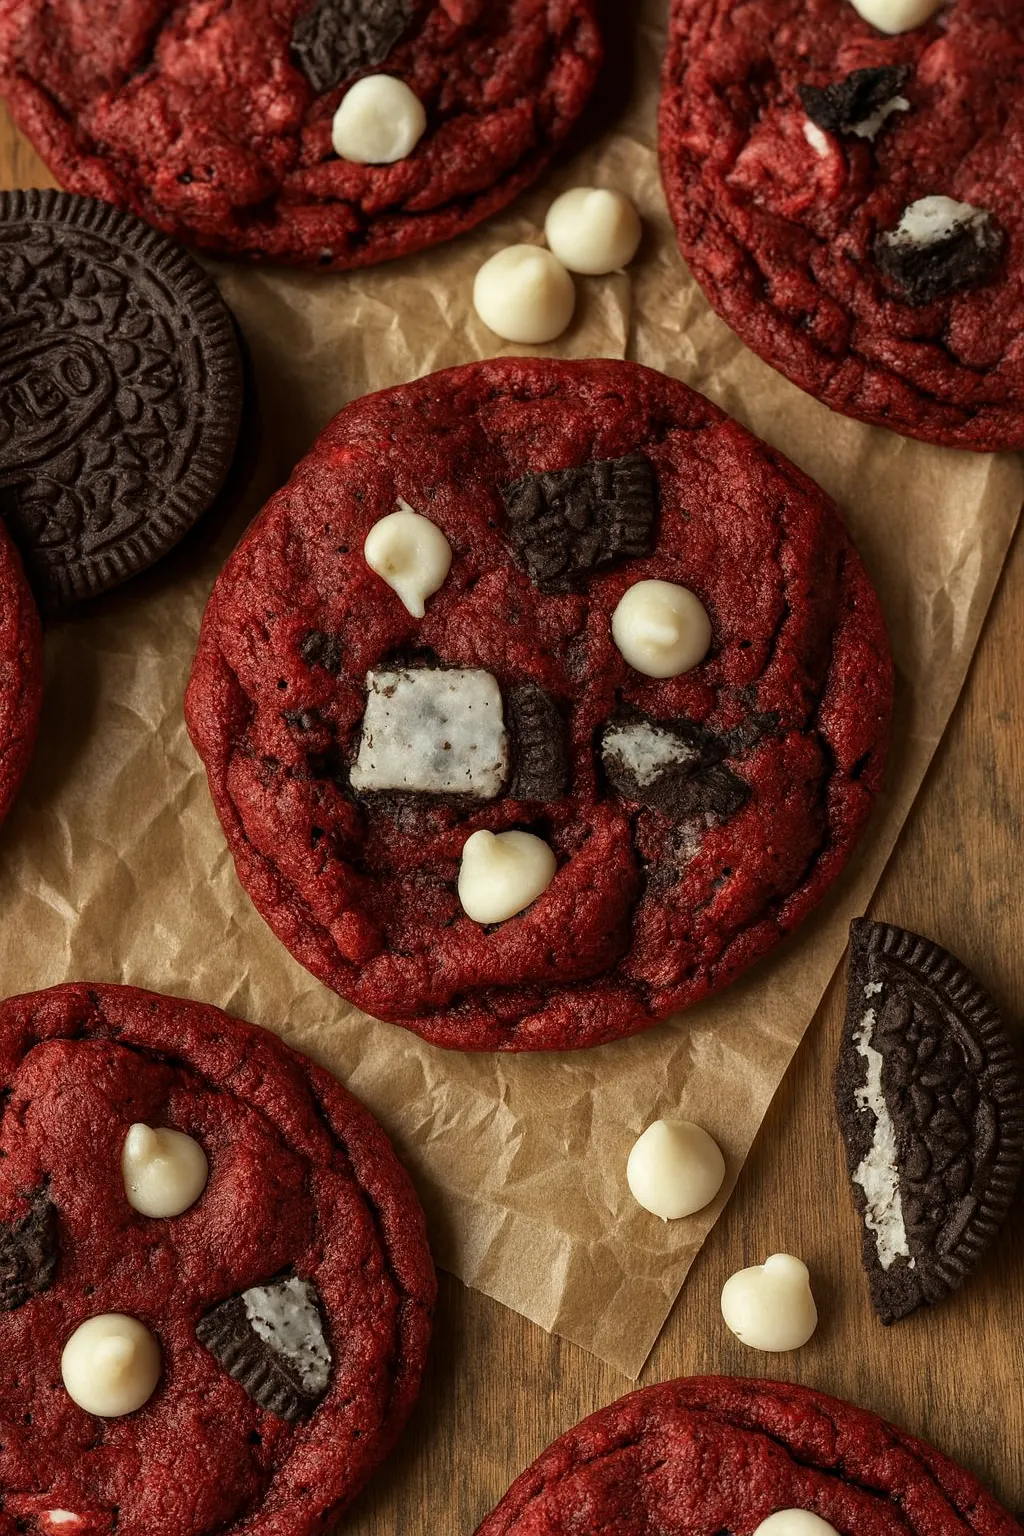
I baked a batch of these Red Velvet Oreo Cookies last week for a friend’s movie night, and they were an absolute hit. There’s something special about that striking red color, packed with creamy white chocolate and the familiar crunch of Oreos. It’s a dessert that feels both nostalgic and excitingly new all at once.
This recipe is designed for reliability in a home kitchen. The dough comes together in minutes and the result is consistently soft, chewy cookies with a tender crumb. The subtle tang of buttermilk and hint of cocoa create that classic red velvet flavor that pairs so well with the sweet mix-ins.
Mastering Cookie Texture
The key to a perfect soft and chewy cookie lies in a few simple techniques. First, creaming the butter and sugar is about more than just combining them; it’s about aerating the mixture. Beating them for a full 2–3 minutes until they are light and fluffy creates tiny air pockets that give the cookies lift and a tender bite. When you add the dry ingredients, mix only until the flour disappears. Overmixing develops gluten, which can lead to tough, dense cookies. Finally, pull them from the oven when the edges are just set but the centers still look slightly soft. They will finish baking on the hot pan, ensuring a perfectly chewy middle.
Achieving a Vibrant Red Velvet Color
To get that deep, beautiful red velvet hue, the type of food coloring you use matters. I strongly recommend a gel-based food coloring over a liquid one. Gel color is highly concentrated, so you can achieve a vibrant red with just a tablespoon without adding excess liquid to the dough. Too much liquid can alter the cookie’s texture and cause it to spread too thin. The small amount of cocoa powder is also essential; it doesn’t just add flavor, but it deepens the red, giving it that classic, rich velvet look rather than a simple bright pink.
Why Buttermilk is Essential
You might see buttermilk as a cake or pancake ingredient, but it’s a crucial component in traditional red velvet recipes for good reason. Its acidity serves two purposes here. First, it reacts with the baking soda to help the cookies rise, contributing to their soft, cake-like texture. Second, it provides a subtle, tangy flavor that cuts through the sweetness of the sugar and white chocolate chips. This creates a more balanced and complex cookie. If you don’t have buttermilk, you can make a quick substitute by adding a teaspoon of lemon juice or white vinegar to regular milk and letting it sit for five minutes.
Recipe Overview

- Prep Time: 15 minutes
- Cook Time: 10 minutes
- Total Time: 25 minutes
- Servings: 24 cookies
- Difficulty: Easy
Ingredients

- 220g (1 and 3/4 cups) all-purpose flour
- 15g (2 tablespoons) unsweetened cocoa powder
- 4g (1 teaspoon) baking soda
- 1g (1/4 teaspoon) salt
- 113g (1/2 cup) unsalted butter, softened at room temperature
- 200g (1 cup) granulated sugar
- 50g (1 large) egg
- 60g (1/4 cup) buttermilk
- 5g (1 teaspoon) vanilla extract
- 15g (1 tablespoon) red food coloring
- 170g (1 cup) white chocolate chips
- 120g (3/4 cup) crushed Oreo cookies (about 8 cookies)
Step-By-Step Instructions

Preheat and Prepare
Preheat your oven to 350°F (175°C). Line a large baking sheet with parchment paper. This prevents the cookies from sticking and makes cleanup much easier.
Whisk Dry Ingredients
In a medium bowl, whisk together the all-purpose flour, unsweetened cocoa powder, baking soda, and salt. Whisking ensures the leavening and flavors are evenly distributed before they meet the wet ingredients.
Cream Butter and Sugar
In a large mixing bowl with a hand mixer or in a stand mixer, beat the softened butter and granulated sugar on medium speed until light and fluffy, about 2–3 minutes. This step whips air into the dough, which helps create a softer cookie.
Add Wet Ingredients
Beat in the large egg until just combined. Then, mix in the buttermilk, vanilla extract, and red food coloring. Scrape down the sides of the bowl to ensure everything is fully incorporated and the color is uniform.
Combine Wet and Dry Mixtures
With the mixer on low speed, gradually add the dry ingredient mixture to the wet ingredients. Mix just until no flour streaks remain. Be careful not to overmix, as this can result in tough cookies.
Fold in Mix-Ins
Gently fold in the white chocolate chips and crushed Oreo pieces using a spatula until they are evenly distributed throughout the dough.
Scoop the Dough
Drop rounded tablespoon-sized scoops of dough onto the prepared baking sheet, placing them about 2 inches apart to give them room to spread as they bake.
Bake Until Set
Bake for 10–12 minutes. The cookies are done when the edges are set and the centers look soft and slightly underdone. They will continue to firm up as they cool.
Cool Completely
Let the cookies cool on the baking sheet for 5 minutes before transferring them to a wire rack to cool completely. This helps them set up properly and achieve the perfect chewy texture.
Substitutions & Variations
- For a richer flavor, swap the white chocolate chips for semi-sweet or dark chocolate chips.
- Add 1 teaspoon of instant espresso powder with the dry ingredients to give the cookies a subtle mocha note that enhances the chocolate flavor.
- Instead of Oreos, try folding in crushed chocolate wafer cookies or another chocolate sandwich cookie of your choice.
If you enjoy this dish, try our Double Chocolate Chip Cookies for a perfect pairing or next-weeknight option.
Make-Ahead, Storage & Reheat

Store the cookies in an airtight container at room temperature for up to 5 days. For longer storage, you can freeze the baked cookies for up to 3 months. To freeze the dough, scoop it into balls, freeze them solid on a baking sheet, then transfer to a freezer bag. You can bake them directly from frozen; just add 1–2 minutes to the baking time.
Nutrition
- Serving Size: 1 cookie
- Calories: 130
- Fat: 7g
- Carbohydrates: 15g
- Protein: 2g
- Per 100g: 450 calories, 24g fat, 52g carbs, 7g protein.
- Estimates only.
FAQ
Why did my cookies spread so much and turn out flat and greasy?
This usually happens when the butter is too warm, causing the fat to melt too quickly in the oven. Chilling the dough solidifies the fat, helping the cookies hold their shape better as they bake.
What is the best way to freeze this cookie dough for baking later?
Scoop the dough onto a parchment-lined sheet and freeze until solid. Transfer the frozen dough balls to a freezer bag so they don't stick together and you can bake as many as you need.
How can I tell when the cookies are perfectly baked but still soft?
Look for set, golden-brown edges while the centers still appear slightly underdone. They will finish baking from the residual heat on the pan, ensuring a soft, chewy texture.
Is chilling the cookie dough before I bake it really that important?
Yes, chilling is key for texture and flavor. It solidifies the fat to prevent spreading and allows the flour to hydrate, which results in a chewier cookie with a more developed taste.
My cookie dough feels way too sticky to scoop. What should I do?
The dough is likely just too warm. Don't add more flour, as that will make the cookies dry. Instead, just refrigerate the bowl for 30 minutes to firm up the butter and make it scoopable.
Can I make these cookies if I do not have an electric stand mixer?
Absolutely. You can use a hand mixer or even mix by hand with a sturdy spatula. Just be sure your butter is properly softened so it incorporates easily without overworking the dough.
If I double this recipe, are there any special changes I need to make?
No major changes are needed. Just be sure to use a large enough bowl to mix everything evenly without compacting the ingredients, which can make the cookies tough. Bake in batches.
How do I store baked cookies to keep them soft and chewy for days?
Store them in a well-sealed, airtight container at room temperature. Adding a small piece of bread to the container helps maintain moisture, keeping the cookies from drying out.
Red Velvet Oreo Cookies (Soft & Chewy)
Equipment
- Oven
- Large baking sheet
- Parchment paper
- Medium mixing bowl
- Large mixing bowl
- Hand mixer or stand mixer
- Spatula
- Measuring cups and spoons
Ingredients
- 220 g (1 and 3/4 cups) All-purpose flour
- 15 g (2 tablespoons) Unsweetened cocoa powder
- 4 g (1 teaspoon) Baking soda
- 1 g (1/4 teaspoon) Salt
- 113 g (1/2 cup) Unsalted butter softened at room temperature
- 200 g (1 cup) Granulated sugar
- 50 g (1 large) Egg
- 60 g (1/4 cup) Buttermilk
- 5 g (1 teaspoon) Vanilla extract
- 15 g (1 tablespoon) Red food coloring
- 170 g (1 cup) White chocolate chips
- 120 g (3/4 cup) Crushed Oreo cookies (about 8 cookies)
Instructions
- Preheat the oven to 350°F (175°C) and line a large baking sheet with parchment paper.
- In a medium bowl, whisk together the flour, cocoa powder, baking soda, and salt until evenly combined.
- In a large mixing bowl, beat the softened butter and granulated sugar on medium speed until light and fluffy, about 2–3 minutes.
- Beat in the egg until just combined, then mix in the buttermilk, vanilla extract, and red food coloring until evenly incorporated.
- Gradually add the dry ingredients to the wet ingredients while mixing on low speed, mixing until no flour streaks remain without overmixing.
- Gently fold in the white chocolate chips and crushed Oreo pieces using a spatula until evenly distributed.
- Drop rounded tablespoon-sized scoops of dough onto the prepared baking sheet about 2 inches apart.
- Bake for 10–12 minutes until edges are set and centers look slightly soft.
- Allow the cookies to cool on the baking sheet for 5 minutes before transferring to a wire rack to cool completely.