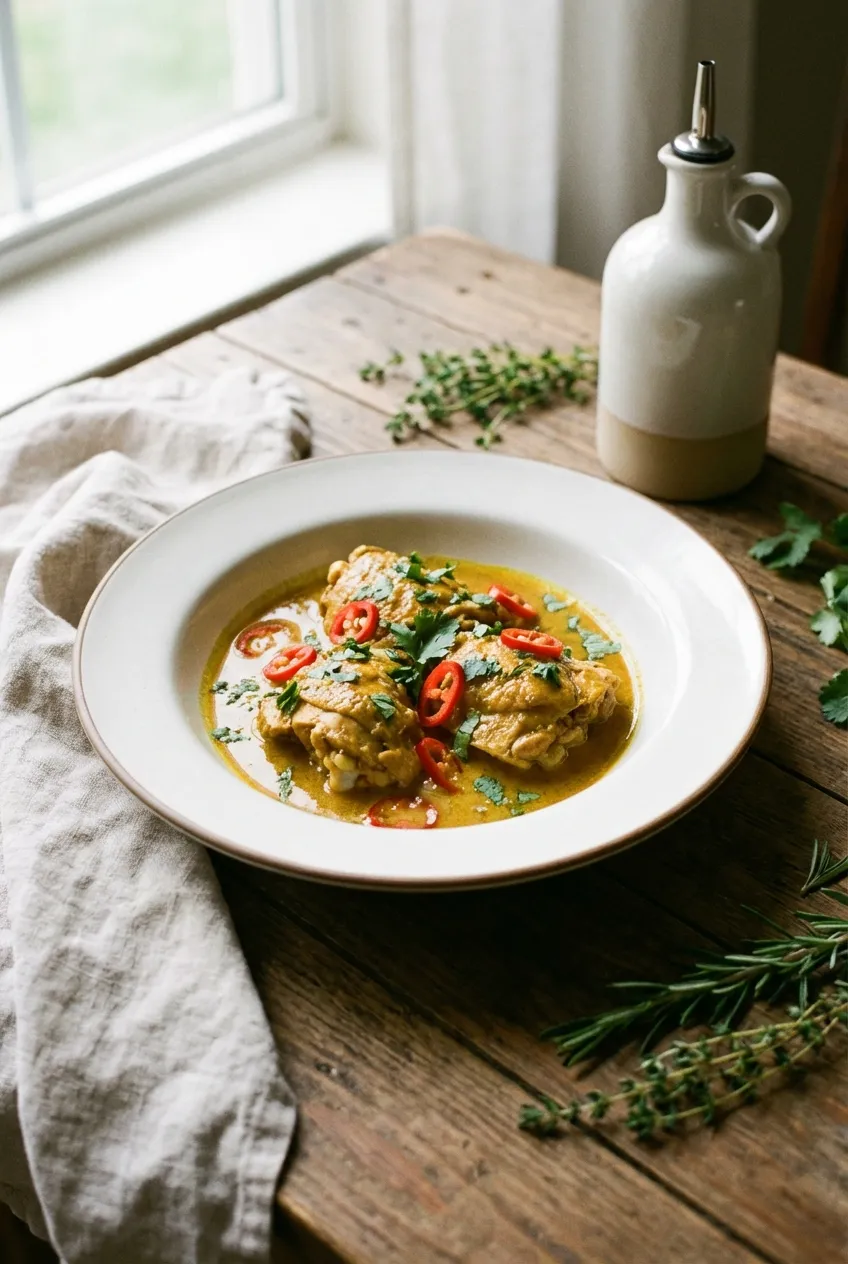
I turn to this coconut curry chicken whenever I need a truly satisfying meal prep for the week. It’s a recipe I developed to bring rich, comforting flavor to my busiest days without spending hours in the kitchen. The creamy coconut milk and warm spices create a sauce that feels indulgent, yet it comes together so quickly.
What makes this recipe so reliable is its simplicity and focus on foundational flavors. Searing the chicken first builds a savory base, and blooming the spices makes the final dish deeply aromatic. It’s a straightforward method that delivers consistent, delicious results for your weekly lunches or dinners.
Mastering the Curry Flavors
The key to a vibrant curry is layering flavors. First, searing the chicken creates a fond—those browned bits in the pan—that forms the savory backbone of your sauce. Next, briefly toasting the curry powder in oil, a technique called blooming, is crucial. This step awakens the volatile oils in the spices, transforming their raw, dusty taste into a deep, complex aroma. Don’t rush this; that single minute of toasting makes a significant difference. Finally, the fresh ginger and garlic, cooked just until fragrant, provide a bright, pungent counterpoint to the warm spices, ensuring the final dish is balanced and lively.
Efficient Meal Prep Tips
To streamline this for meal prep, think in stages. You can chop your aromatics (garlic, ginger) and portion your spices ahead of time. I often prepare the chicken by cutting it into pieces and storing it in a separate container. When it’s time to cook, everything is ready to go. Once cooked, let the curry cool completely before portioning it into airtight containers. For serving, I keep the garnishes like cilantro and lime separate and add them just before reheating. This preserves their fresh flavor and texture, making your fourth-day lunch taste just as good as the first.
Balancing Heat and Creaminess
This curry’s richness comes from full-fat coconut milk, which provides a silky texture and mellows the spice. Do not substitute with coconut cream or beverage-style coconut milk, as they won’t create the right consistency. The heat level is controlled by the red chili pepper garnish, allowing each person to customize their own bowl. If you prefer heat cooked into the sauce, add a pinch of cayenne pepper or a teaspoon of chili garlic sauce along with the curry powder. Remember to taste and adjust at the end—a final squeeze of lime juice brightens everything and cuts through the richness.
Recipe Overview
- Prep Time: 15 minutes
- Cook Time: 30 minutes
- Total Time: 45 minutes
- Servings: 4 bowls
- Difficulty: Easy
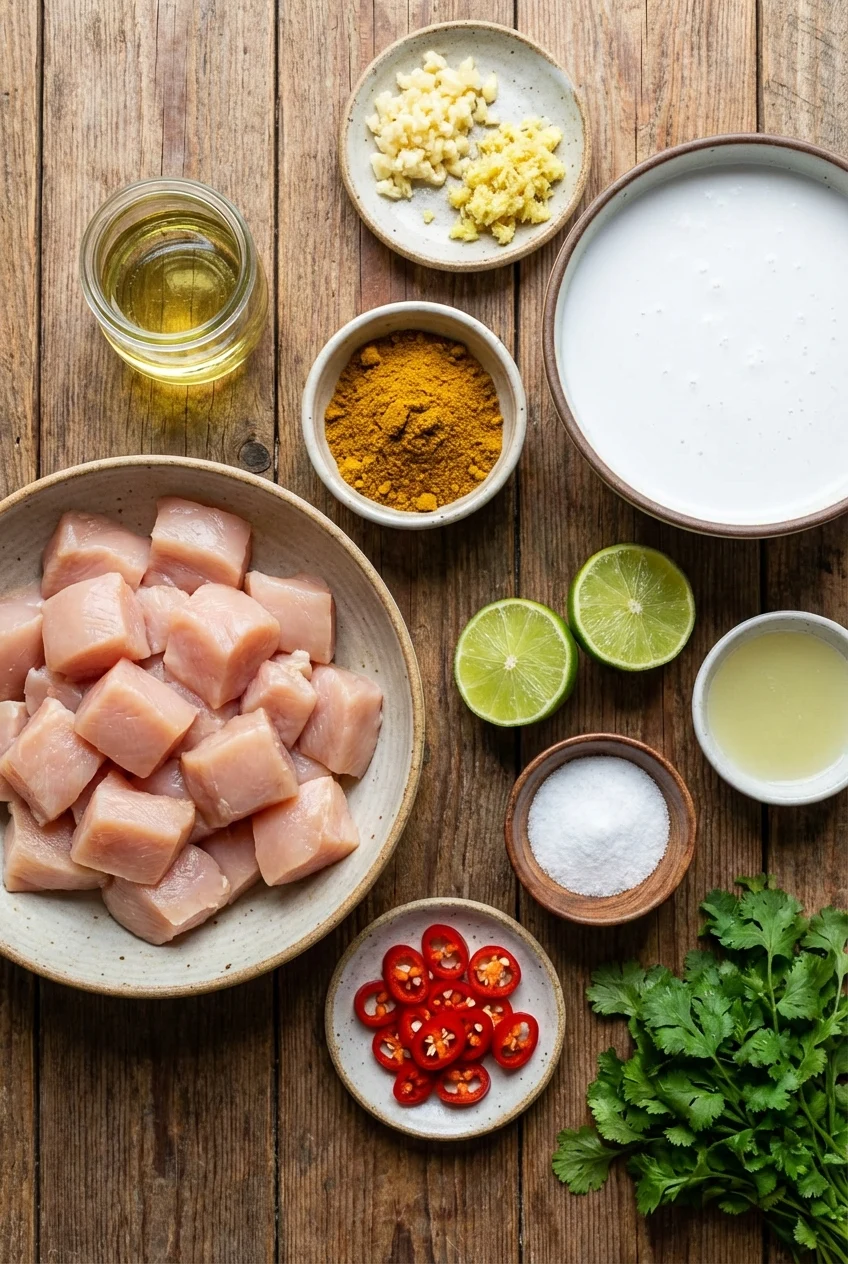
Ingredients
For the Curry
- 900g (2 pounds) boneless, skinless chicken breast
- 28g (2 tablespoons) vegetable oil, divided
- 12g (4 cloves) garlic, minced
- 6g (1 tablespoon) fresh ginger, grated
- 18g (2 tablespoons) curry powder
- 400g (1 can) full-fat coconut milk
- 60g (1) lime, juiced
- Salt, to taste
For Garnish
- 30g (2) red chili peppers, sliced
- 10g (1/4 cup) fresh cilantro, chopped
Step-By-Step Instructions
- Prepare the Chicken
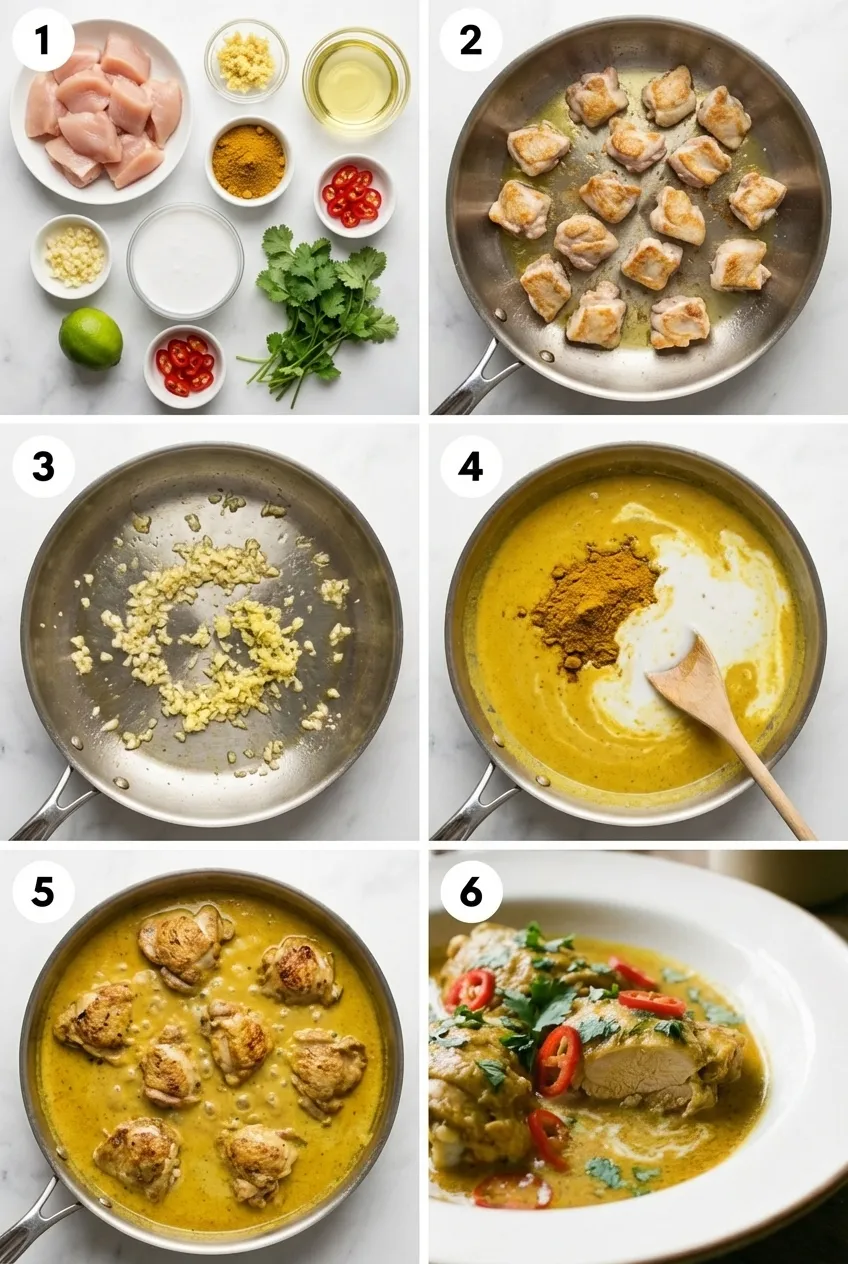
Cut the chicken breast into bite-sized pieces and season with salt. In a large skillet over medium heat, add 1 tablespoon of vegetable oil. Once the oil shimmers, add the chicken. Sear the pieces until golden on all sides, then remove them from the skillet and set aside. This step builds essential flavor.
- Cook Aromatics
In the same skillet, add the remaining 1 tablespoon of vegetable oil. Add the minced garlic and grated ginger. Stir-fry for about 1 minute until fragrant. Be careful not to let the garlic brown, as it can become bitter.
- Create the Curry Base
Add the curry powder to the skillet and stir constantly for one minute. This process, called blooming, toasts the spices and deepens their flavor. Pour in the coconut milk, stirring to combine everything into a smooth sauce. Bring the mixture to a gentle simmer.
- Slow Cook the Chicken
Return the seared chicken to the skillet with the curry sauce. Reduce the heat to low, cover the skillet, and let it cook for about 20 minutes. The chicken is done when it is tender and cooked through to an internal temperature of 165°F / 74°C.
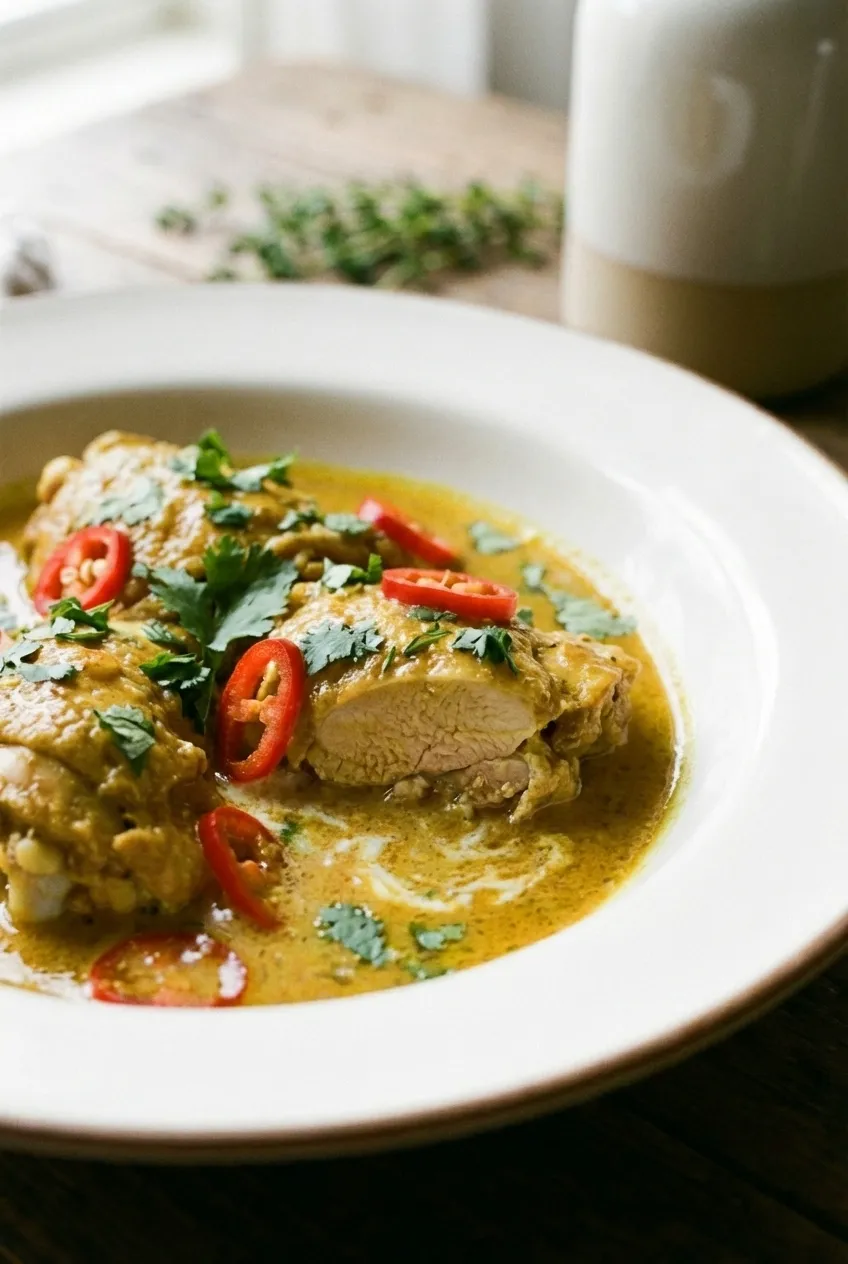
- Finish with Fresh Ingredients
Remove the skillet from the heat. Stir in the fresh lime juice to brighten the flavors. Taste the sauce and adjust the seasoning with salt as needed. Serve the curry topped with fresh cilantro and sliced red chili peppers for garnish.
If you enjoy this dish, try our Baked Chicken Veggie Meal Prep for a perfect pairing or next-weeknight option.
Substitutions & Variations
- For a vegetarian version: Substitute the chicken with one block of extra-firm tofu, pressed and cubed. Sear it just as you would the chicken.
- Add vegetables: Stir in 1-2 cups of chopped bell peppers, broccoli florets, or snap peas during the last 10 minutes of cooking for added nutrients.
- Lower-calorie option: Use light coconut milk. The sauce will be slightly thinner and less rich, but still flavorful.
Make-Ahead, Storage & Reheat
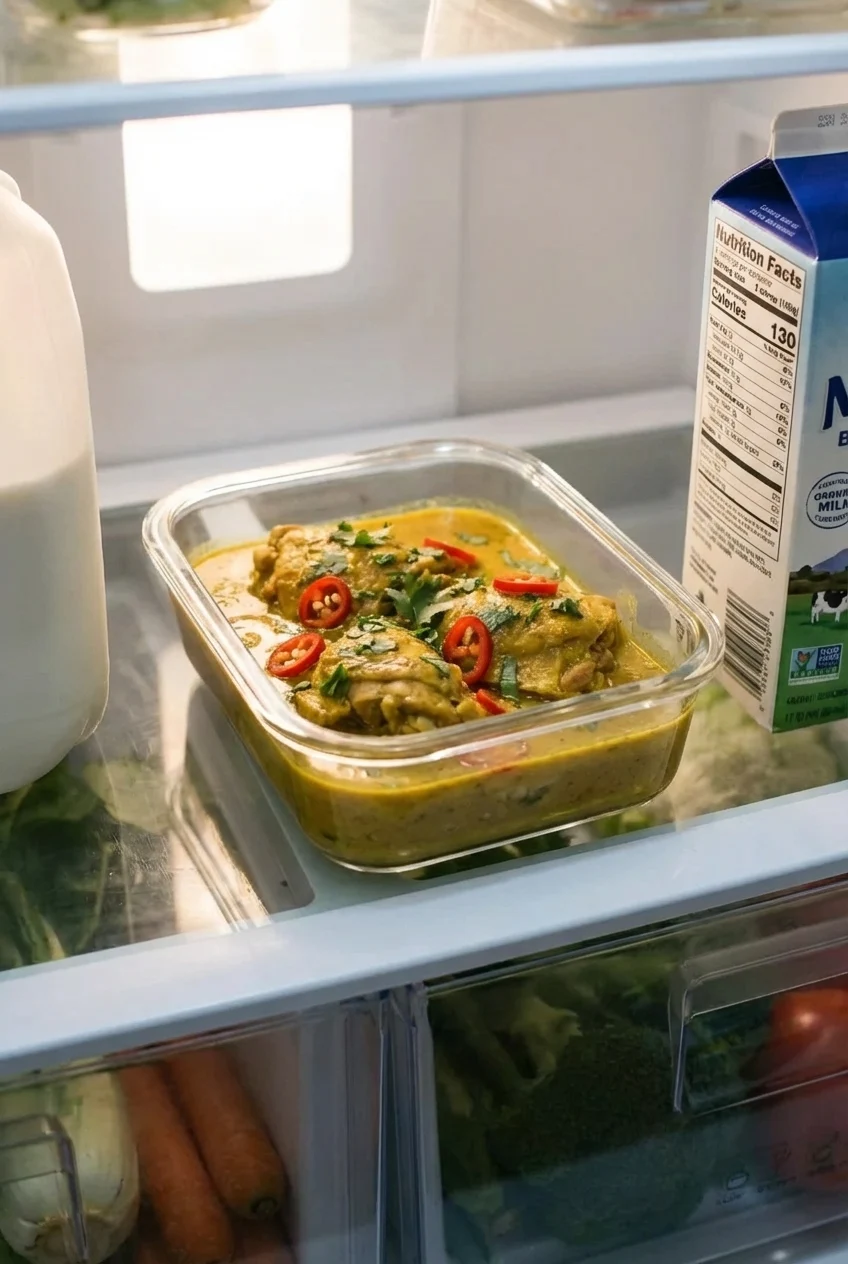
Store leftovers in airtight containers in the refrigerator for up to 4 days. This curry also freezes well for up to 3 months. To reheat, warm gently on the stovetop or in the microwave until heated through. Add a splash of water or coconut milk if the sauce has thickened too much.
Nutrition
- Serving size: 1 bowl (approx.)
- Per serving: 500 calories, 40g protein, 25g fat, 15g carbs
- Per 100g: 200 calories, 16g protein, 10g fat, 6g carbs
- Estimates only.
FAQ
My curry tastes a little bland. What is the best way to brighten it up?
A squeeze of fresh lime juice added just before serving works wonders. The acidity cuts through the richness of the coconut milk and makes all the other flavors pop.
Why did my coconut milk sauce look grainy or separated during cooking?
This can happen if the heat is too high, which causes the coconut milk to curdle. Keep the curry at a gentle simmer, not a rolling boil, to ensure a smooth, creamy finish.
Does the texture of the sauce change much after freezing and reheating?
The sauce may separate slightly upon thawing, but it comes back together with gentle reheating. Stir it well on the stovetop to help restore its original creamy consistency.
Can I use chicken thighs instead of breasts for a more flavorful curry?
Absolutely. Boneless, skinless thighs are a great choice for extra moisture and flavor. They might need a few more minutes to cook through, so just check for tenderness.
How can I get a thicker, richer sauce without adding any cornstarch?
The easiest way is to let it simmer uncovered for an extra 5 to 10 minutes. This allows some water to evaporate, which naturally concentrates and thickens the sauce.
I want to make this ahead of time. What is the best way to do that?
You can make the entire curry a day or two in advance. The flavors will actually deepen overnight. Store it covered in the fridge and reheat gently on the stovetop.
Is this recipe gluten-free, and what should I double-check for safety?
Yes, this recipe is naturally gluten-free as written. To be safe, always check the label on your curry powder, as some brands can contain anti-caking agents with gluten.
What are some good side dishes to serve with this coconut chicken curry?
Steamed jasmine or basmati rice is the classic pairing for soaking up the sauce. For a lower-carb meal, serve it over some cauliflower rice or a simple bed of fresh spinach.
Equipment
- Large 12-inch skillet
- Measuring spoons
- Chef’s knife
- Cutting board
- Mixing spoon
- Citrus juicer
Ingredients
- 900 g Boneless skinless chicken breast
- 28 g Vegetable oil divided
- 12 g Garlic minced (4 cloves)
- 6 g Fresh ginger grated (1 tbsp)
- 18 g Curry powder
- 400 g Full-fat coconut milk (1 can)
- 60 g Lime juiced (1 lime)
- Salt to taste
- For Garnish
- 30 g Red chili peppers sliced (2 peppers)
- 10 g Fresh cilantro chopped (1/4 cup)
Instructions
- Cut the chicken breast into bite-sized pieces and season with salt.
- Heat 1 tablespoon vegetable oil in a large skillet over medium heat and sear the chicken pieces until golden on all sides, then remove and set aside.
- Add the remaining 1 tablespoon vegetable oil to the same skillet and stir-fry the minced garlic and grated ginger for about 1 minute until fragrant, avoiding browning the garlic.
- Add the curry powder and stir constantly for 1 minute to bloom the spices, then pour in the coconut milk and bring to a gentle simmer.
- Return the seared chicken to the skillet, reduce heat to low, cover, and cook for about 20 minutes until the chicken is tender and reaches 165°F (74°C) internally.
- Remove from heat, stir in fresh lime juice, taste the sauce and adjust salt as needed.
- Serve the curry topped with fresh cilantro and sliced red chili peppers.