Introduction
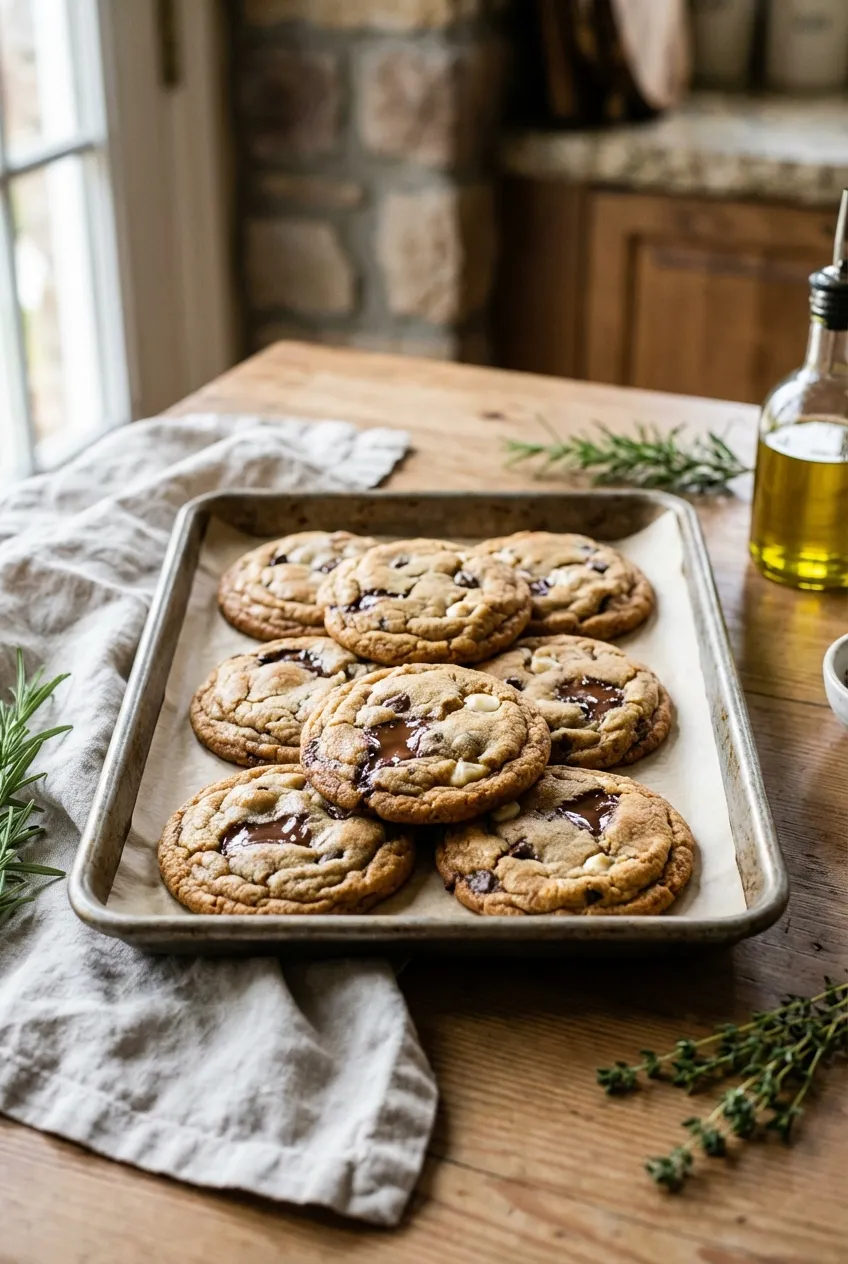
I find so much comfort in a classic chocolate chip cookie, and this recipe is the one I turn to on cozy winter weekends. It has all the familiar chewiness you love but gets a simple upgrade from a mix of both dark and white chocolate chips. My take: The contrast between the slightly bitter dark chocolate and the creamy, sweet white chocolate is what makes these so satisfying.
This recipe is straightforward and reliable, perfect for bakers of any level. We focus on the key techniques, like properly creaming the butter and sugar, that guarantee a great texture—soft centers with lightly crisp edges. It’s a simple, rewarding bake for sharing with family or just treating yourself.
The Science of Perfect Cookie Texture
Achieving the perfect texture is all about the balance of ingredients and technique. The foundation is creaming softened—not melted—butter with both granulated and brown sugar. This process whips tiny air pockets into the fat, which gives the cookies lift and a tender crumb. Using room temperature eggs helps them emulsify smoothly into the creamed butter, creating a uniform dough. If your butter is too warm, the cookies will spread too much and become thin and greasy. The final bake time is also key; pulling them from the oven when the centers are still soft ensures they cool to a perfectly chewy finish.
Why Use Two Kinds of Chocolate?
The combination of dark and white chocolate chips adds a wonderful depth to the flavor profile. Dark chocolate brings a rich, slightly bitter note that cuts through the sweetness, while white chocolate offers a creamy, mellow flavor reminiscent of vanilla. This pairing creates a more complex and satisfying cookie than one with a single type of chocolate. You get different tastes and textures in every bite. Feel free to play with the ratios to find your favorite balance, or even add a third type like milk or semi-sweet for a truly customized cookie.
The Benefits of Chilling Cookie Dough
For an even more intense flavor and better texture, I highly recommend refrigerating the dough for at least an hour before baking. Chilling solidifies the fat in the dough. As the cookies bake, the cold fat takes longer to melt, which means the cookies spread less and bake up thicker and chewier. This resting period also allows the flour to fully hydrate and the flavors to meld, resulting in a deeper, more caramel-like taste. For the absolute best results, you can chill the dough for up to 48 hours.
Recipe Overview
- Prep Time: 15 mins
- Cook Time: 10 mins
- Total Time: 25 mins
- Servings: 24 cookies
- Difficulty: Easy
Ingredients
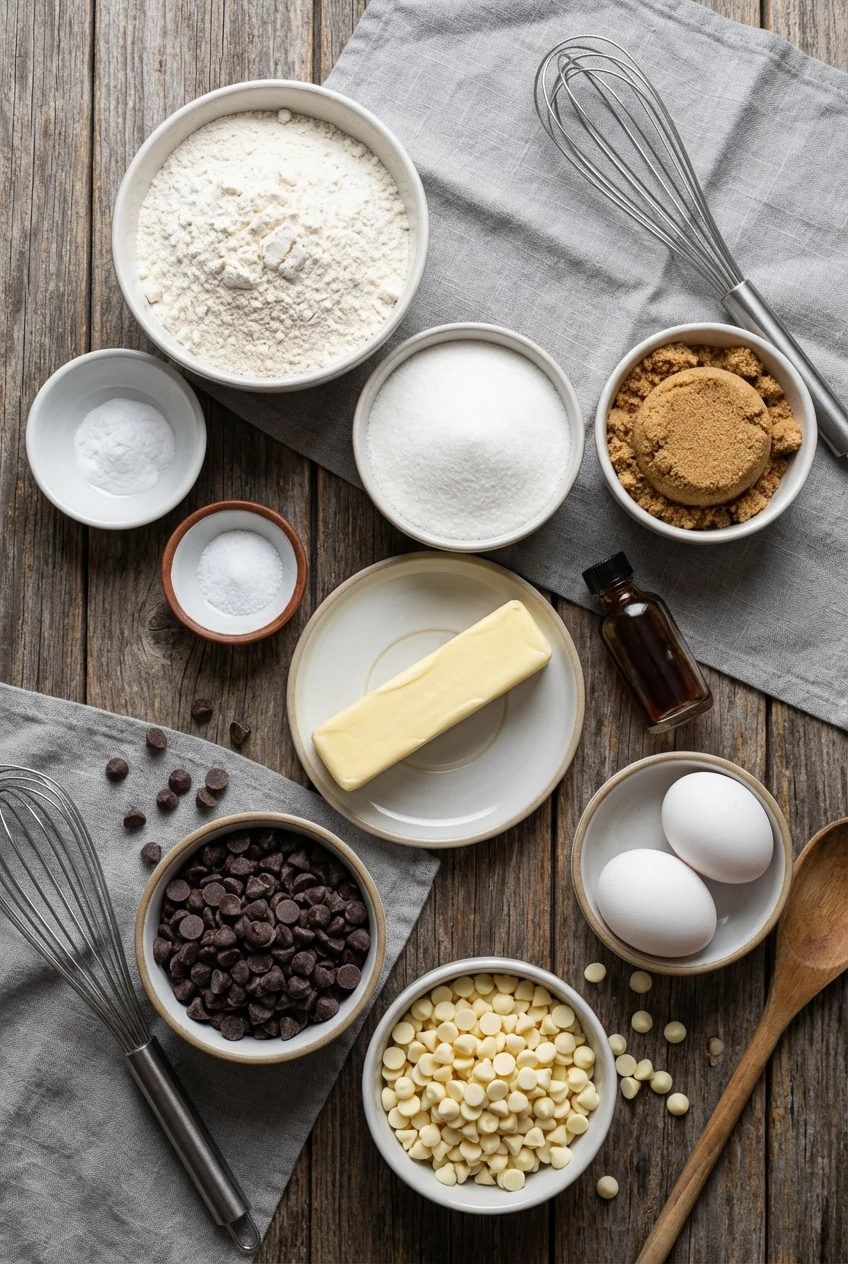
- 290g (2 1/4 cups) all-purpose flour
- 5g (1 teaspoon) baking soda
- 3g (1/2 teaspoon) salt
- 227g (1 cup) unsalted butter, softened
- 150g (3/4 cup) granulated sugar
- 165g (3/4 cup) packed brown sugar
- 5g (1 teaspoon) vanilla extract
- 100g (2 large) eggs, room temperature
- 175g (1 cup) dark chocolate chips
- 175g (1 cup) white chocolate chips
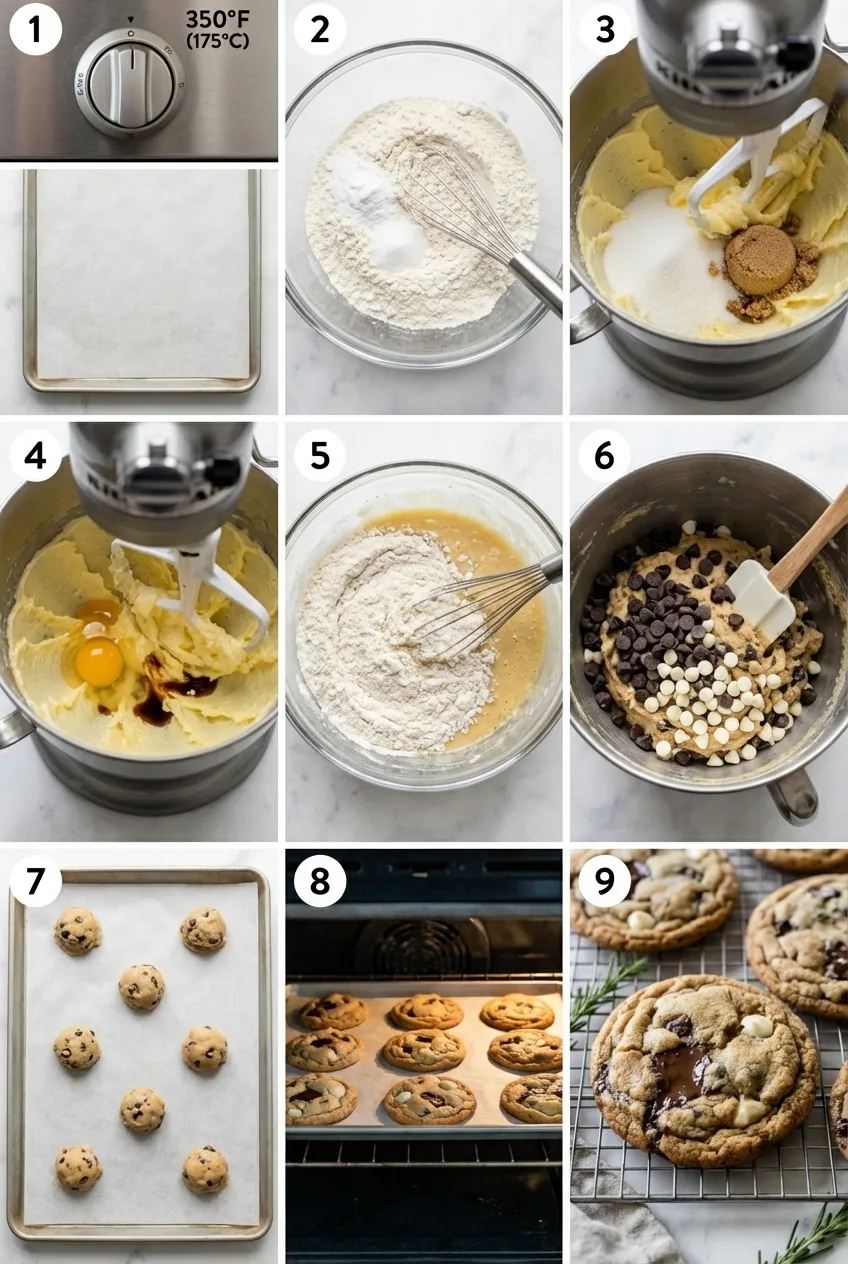
Step-By-Step Instructions

- Preheat the oven
Set your oven to 350°F (175°C). Line a baking tray with parchment paper or a silicone baking mat. This prevents the cookies from sticking and helps them bake evenly.
- Mix dry ingredients
In a medium bowl, whisk together the flour, baking soda, and salt until they are evenly combined. This step ensures the leavening is distributed properly for a consistent rise.
- Cream butter and sugars
In a large mixing bowl, beat the softened butter, granulated sugar, and brown sugar with an electric mixer for about 3 minutes, until the mixture is light, fluffy, and pale in color. This aerates the dough for a softer texture.
- Add eggs and vanilla
Add the eggs one at a time, mixing well after each addition to ensure they are fully incorporated. Mix in the vanilla extract.
- Combine wet and dry ingredients
Gradually add the dry ingredient mixture to the wet ingredients, mixing on low speed until just combined. Scrape down the sides of the bowl as needed, and be careful not to overmix, which can make the cookies tough.
- Fold in chocolate chips
Using a spatula or wooden spoon, gently fold in the dark and white chocolate chips until they are evenly distributed throughout the dough.
- Shape the cookies
Scoop rounded tablespoons of dough onto the prepared baking tray. Leave about 2 inches of space between each cookie to allow for spreading as they bake.
- Bake the cookies
Bake for 8-10 minutes, or until the edges are golden brown and the centers look slightly soft and underbaked. They will continue to set as they cool on the tray.
- Cool the cookies
Let the cookies cool on the baking tray for 5 minutes. This allows them to firm up enough to be moved. Then, transfer them to a wire rack to cool completely for the best chewy texture.
If you enjoy this dish, try our Brown Butter Snickerdoodles for a perfect pairing or next-weeknight option.
Substitutions & Variations
- For a nutty flavor, swap 1/2 cup of chocolate chips for toasted, chopped pecans or walnuts.
- Use butterscotch chips instead of white chocolate chips for a rich, caramel-like taste.
- Sprinkle a little flaky sea salt on top of the dough balls just before baking to enhance the chocolate flavor.
Make-Ahead, Storage & Reheat

Store baked cookies in an airtight container at room temperature for up to one week. You can also freeze the portioned cookie dough balls on a baking sheet, then transfer them to an airtight bag. Bake from frozen for 12-14 minutes, no thawing needed. To freeze baked cookies, store them in an airtight bag for up to three months.
Nutrition
- Serving Size: 1 cookie
- Calories: 150 kcal
- Protein: 2g
- Fat: 8g
- Carbohydrates: 20g
- Estimates only.
FAQ
Why did my cookies spread into thin, greasy discs in the oven?
Your butter was likely too warm. Properly softened butter should be cool, not melty. Chilling the dough for 30 minutes helps the fat solidify, ensuring the cookies hold their shape while baking.
What causes cookies to turn out puffy and dry instead of dense and chewy?
This often happens from adding too much flour. Measure your flour by spooning it into the cup and leveling it off, as scooping packs it in too tightly, which will dry out the dough.
How can I tell the cookies are perfectly baked without overdoing them?
The key is to pull them when the edges are set but the centers still look a little soft and doughy. They will finish baking from the residual heat on the pan, giving you that ideal chewy middle.
Is there any real benefit to freezing the dough balls before I bake them?
Yes, freezing the dough helps control spread for a thicker cookie. This chill time also lets the flavors deepen. Bake them directly from the freezer; just add a minute or two to the bake time.
Does the quality or type of chocolate I use really make a difference?
It makes a huge difference in the final flavor and melt. Higher-quality chocolate has a richer taste. Using chopped chocolate bars instead of chips will give you those nice puddles.
How do I know when my butter is properly softened but not too warm?
Properly softened butter should still feel cool to the touch. When you press it, your finger should make an indent easily without sliding right through. This texture is key for proper creaming.
Can this cookie recipe be successfully doubled for making a larger batch?
Yes, this recipe scales very well. Just be sure to use a large enough bowl for mixing so you can incorporate everything evenly without overworking the dough, which can make the cookies tough.
What is the best way to refresh cookies that are a few days old?
To restore that fresh-baked texture, warm them in a 300°F oven for just 3-5 minutes. This little bit of heat helps soften the chocolate and gives the cookie a slight crispness on the outside.
Equipment
- Oven
- Baking tray
- Parchment paper or silicone baking mat
- Medium mixing bowl
- Large mixing bowl
- Electric mixer
- Spatula or wooden spoon
- Wire rack
Ingredients
- 290 g (2 1/4 cups) All-purpose flour
- 5 g (1 teaspoon) Baking soda
- 3 g (1/2 teaspoon) Salt
- 227 g (1 cup) Unsalted butter softened
- 150 g (3/4 cup) Granulated sugar
- 165 g (3/4 cup) Packed brown sugar
- 5 g (1 teaspoon) Vanilla extract
- 100 g (2 large) Eggs room temperature
- 175 g (1 cup) Dark chocolate chips
- 175 g (1 cup) White chocolate chips
Instructions
- Preheat the oven to 350°F (175°C) and line a baking tray with parchment paper or a silicone baking mat.
- Whisk together the flour, baking soda, and salt in a medium bowl until evenly combined.
- Beat the softened butter, granulated sugar, and brown sugar with an electric mixer for about 3 minutes until light, fluffy, and pale in color.
- Add the eggs one at a time, mixing well after each addition, then mix in the vanilla extract.
- Gradually add the dry ingredients to the wet ingredients on low speed until just combined, scraping down the sides of the bowl and avoiding overmixing.
- Gently fold in the dark and white chocolate chips using a spatula or wooden spoon until evenly distributed.
- Scoop rounded tablespoons of dough onto the prepared baking tray, leaving about 2 inches between each cookie.
- Bake for 9 minutes, or until the edges are golden brown and the centers look slightly soft and underbaked.
- Let the cookies cool on the baking tray for 5 minutes, then transfer to a wire rack to cool completely.