

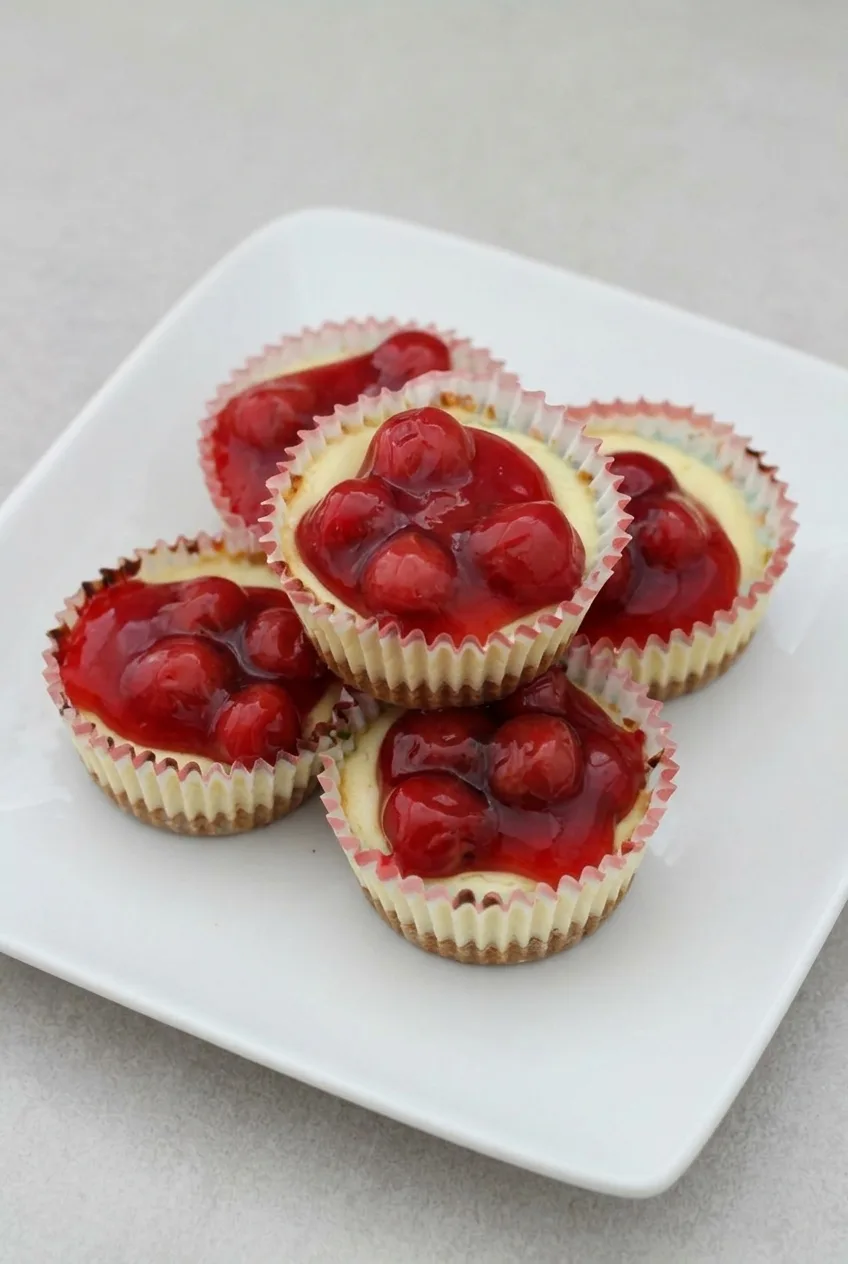
No-Bake Cherry Cheesecake Cups
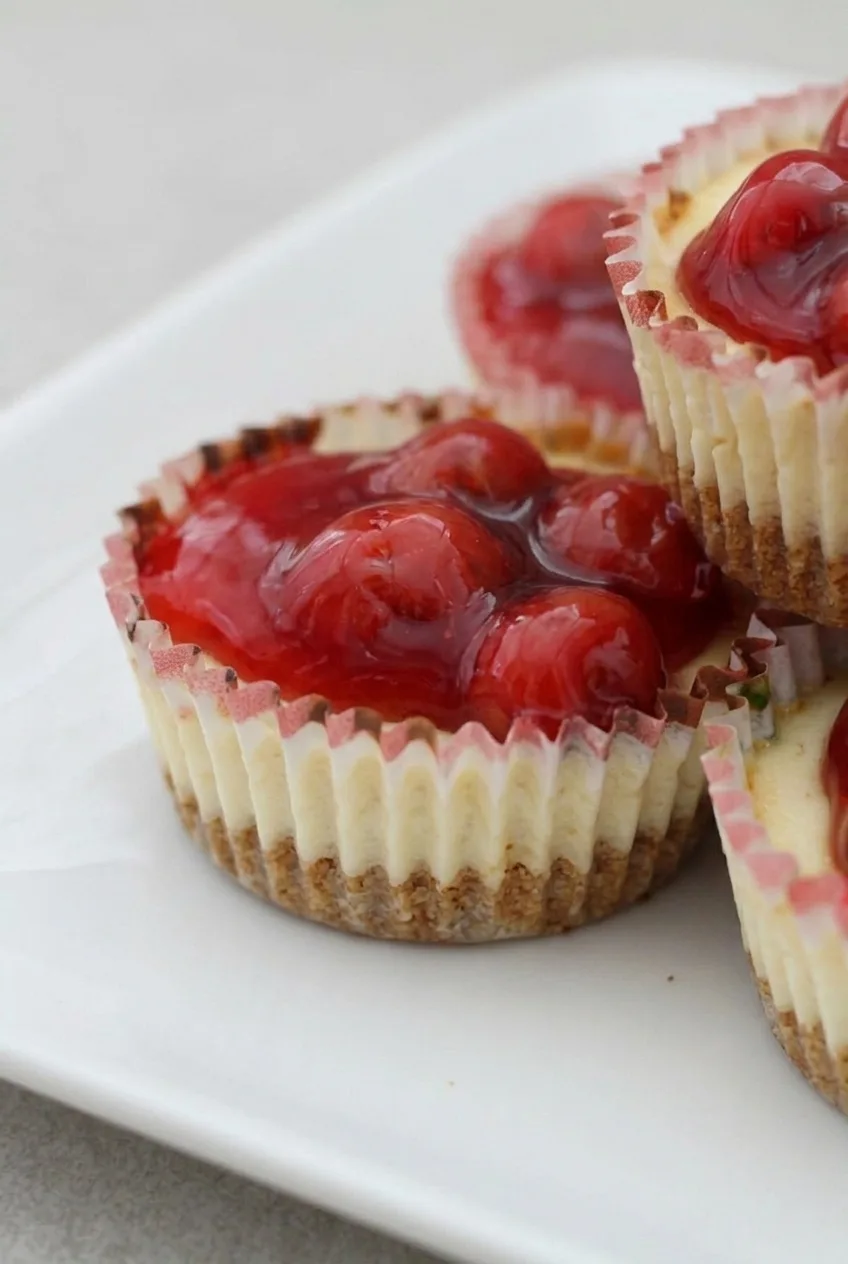
These individual cheesecake cups have a pressed graham cracker base, an airy cream cheese filling, and glossy cherries spooned on after chilling. Whipping the cream separately gives the filling its mousse-like texture; it will hold its shape without becoming as dense as baked cheesecake. Allow at least 6 hours in the refrigerator, or make the cups the day before and add the cherries when ready to serve.
Prep time: 30 minutes | Cook time: 0 minutes | Total time: At least 6 hours 30 minutes, mostly chilling | Yield: 12 cheesecake cups
Ingredients for No-Bake Cherry Cheesecake Cups
- 1 cup graham cracker crumbs (120g)
- 4 tablespoons unsalted butter, melted (55g)
- 2 tablespoons light or dark brown sugar (25g)
- 16 ounces full-fat cream cheese, softened to room temperature (450g)
- 1/2 cup powdered sugar (60g)
- 1/4 cup sour cream (60g)
- 1 teaspoon vanilla extract
- 1 teaspoon lemon juice
- 1 cup cold heavy whipping cream (240g)
- 1 can cherry pie filling, about 21 ounces (600g)
- 12 fluted paper cupcake liners
Optional: Add 1/2 teaspoon finely grated lemon zest to the filling for a stronger citrus note. Add whipped cream as a garnish just before serving, if desired.
How to Make No-Bake Cherry Cheesecake Cups
- Line the tin: Set 12 fluted paper liners in a standard 12-cup muffin tin. If starting with whole graham crackers, crush them into fine, even crumbs.
- Press the crusts: Stir together the graham cracker crumbs, melted butter, and brown sugar until the crumbs are evenly moistened and hold together when pinched. Divide among the liners and press firmly into level bases.
- Mix the cream cheese: Beat the softened cream cheese until smooth. Add the powdered sugar, sour cream, vanilla, and lemon juice. Beat until creamy, scraping down the bowl as needed.
- Whip and fold: In a separate clean, dry bowl, whip the cold heavy cream to stiff peaks that hold their shape when the beaters are lifted. Fold it into the cream cheese mixture in portions with a spatula, stopping when no large streaks remain.
- Fill the cups: Divide the filling among the crusts and smooth the tops, leaving room for cherries. Keep the liners supported in the muffin tin.
- Chill: Cover the tin without letting the cover touch the filling. Refrigerate at 40°F (5°C) or below for at least 6 hours, preferably overnight. Start checking after 6 hours; the filling should hold its shape, though a slight jiggle is fine. Chill longer if the centers still look loose.
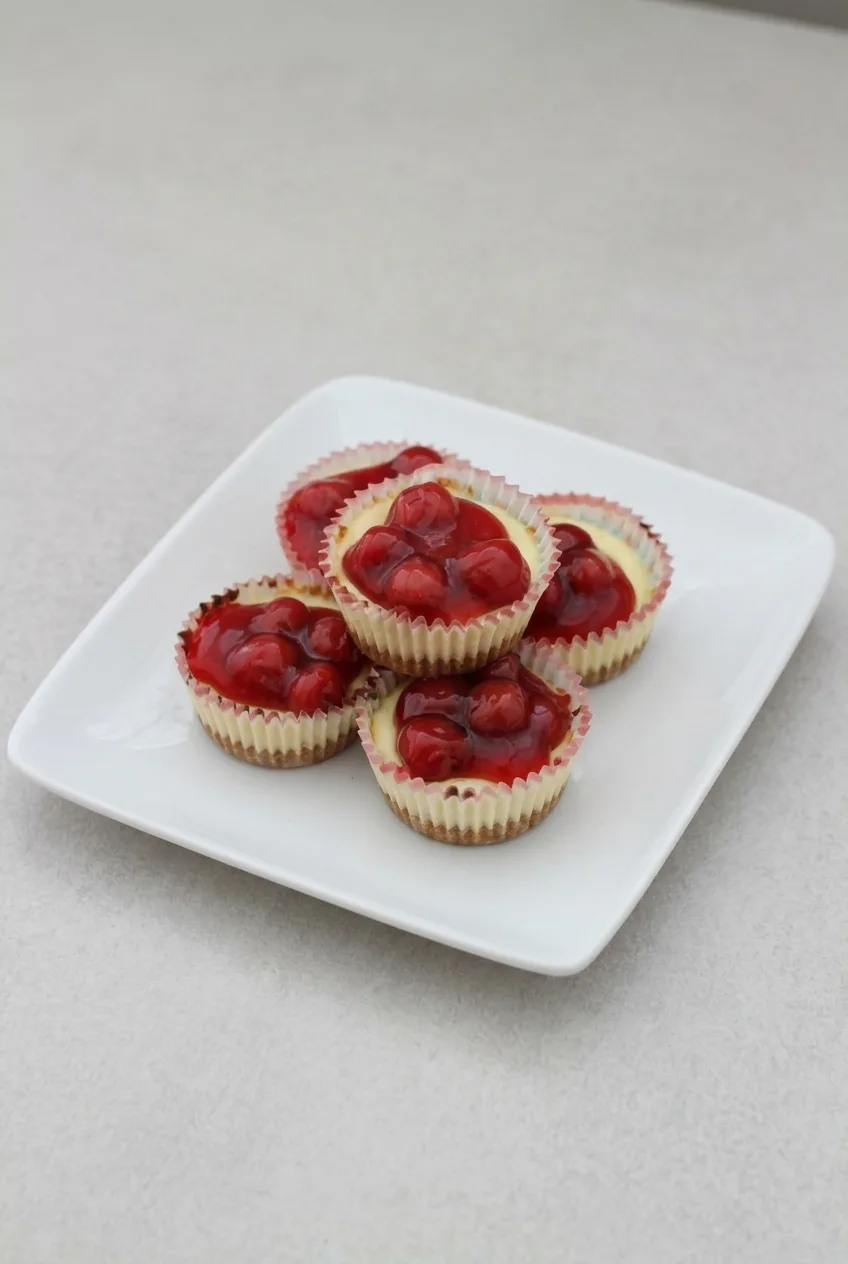
- Add the cherries: Spoon cherry pie filling onto the set cups, keeping it centered so a ring of pale filling remains visible. Serve cold in the liners.
How to Keep the Filling Smooth and Airy
Softened cream cheese beats smooth more easily; cold cream cheese can leave lumps. The heavy cream, by contrast, needs to be cold so it whips to stiff peaks. Fold the whipped cream in gently rather than beating the combined filling, which can deflate it and leave the cups too soft.
When Are the Cups Set?
After chilling, the filling should hold its shape when a cup is handled but still feel creamy and mousse-like. It does not need to become rigid. Wait until it sets before adding the cherry filling so the topping stays on the surface instead of sinking or smearing.
Variations
Vanilla wafer crumbs or Oreo cookie crumbs can replace the graham cracker crumbs for a different crust flavor. Raspberry, blueberry, or strawberry pie filling can replace the cherries, though cherry gives these cups their intended finish. For another chilled fruit dessert, try No-Bake Strawberry Cheesecake with Chunky Sauce.
Storage and Freezing
Store the cups covered in the refrigerator for up to 5 days, and keep them chilled when not serving. For make-ahead cups, chill the filling overnight and add the cherries after it has set.
Freezing for up to 1 month is an option, but the texture after thawing—particularly the cherry topping—is uncertain. For a different chilled dessert format, see No-Bake Oreo Dessert Lasagna.
Nutrition
Approximate nutrition per cheesecake cup, based on 12 servings: 370 calories, 4g protein, 26g fat, and 33g carbohydrates. Per 100g: approximately 275 calories, 3g protein, 19g fat, and 25g carbohydrates. Values vary with the ingredients used.
Equipment
- 12-cup muffin tin
- Mixing bowls
- Electric mixer
- Spatula
Ingredients
For the crust
- 1 cup graham cracker crumbs (120 g)
- 4 tablespoons unsalted butter, melted (55 g)
- 2 tablespoons light or dark brown sugar (25 g)
- 12 fluted paper cupcake liners
For the filling
- 16 ounces full-fat cream cheese, softened to room temperature (450 g)
- 1/2 cup powdered sugar (60 g)
- 1/4 cup sour cream (60 g)
- 1 teaspoon vanilla extract
- 1 teaspoon lemon juice
- 1 cup cold heavy whipping cream (240 g)
For the topping
- 1 can cherry pie filling, about 21 ounces (600 g)
Optional
- 1/2 teaspoon finely grated lemon zest
- Whipped cream, for garnish
Instructions
- Set 12 paper liners in a standard 12-cup muffin tin. If using whole graham crackers, crush them into fine crumbs.
- Stir the graham cracker crumbs, melted butter, and brown sugar together until evenly moistened.
- Divide the crumb mixture among the liners and press firmly into level bases.
- Beat the softened cream cheese until smooth.
- Add the powdered sugar, sour cream, vanilla, and lemon juice, then beat until creamy, scraping down the bowl as needed.
- In a separate clean, dry bowl, whip the cold heavy cream to stiff peaks.
- Fold the whipped cream into the cream cheese mixture in portions until no large streaks remain.
- Divide the filling among the crusts and smooth the tops, leaving room for the cherries. Keep the liners supported in the muffin tin.
- Cover the tin without letting the cover touch the filling. Refrigerate at 40°F (5°C) or below for at least 6 hours, preferably overnight.
- Once set, spoon cherry pie filling onto each cup, keeping it centered. Serve cold in the liners.
Tips
- Use softened cream cheese to help prevent lumps.
- Keep the heavy cream cold so it whips to stiff peaks.
- Fold the whipped cream in gently to preserve the airy texture.
- Chill the cups until the filling holds its shape before adding the cherries.
- Add the cherry topping just before serving for the neatest finish.
Variations
- Alternative crusts: Replace the graham cracker crumbs with vanilla wafer crumbs or Oreo cookie crumbs.
- Other fruit toppings: Replace the cherry pie filling with raspberry, blueberry, or strawberry pie filling.
- Lemon zest filling: Add 1/2 teaspoon finely grated lemon zest to the filling for a stronger citrus note.