

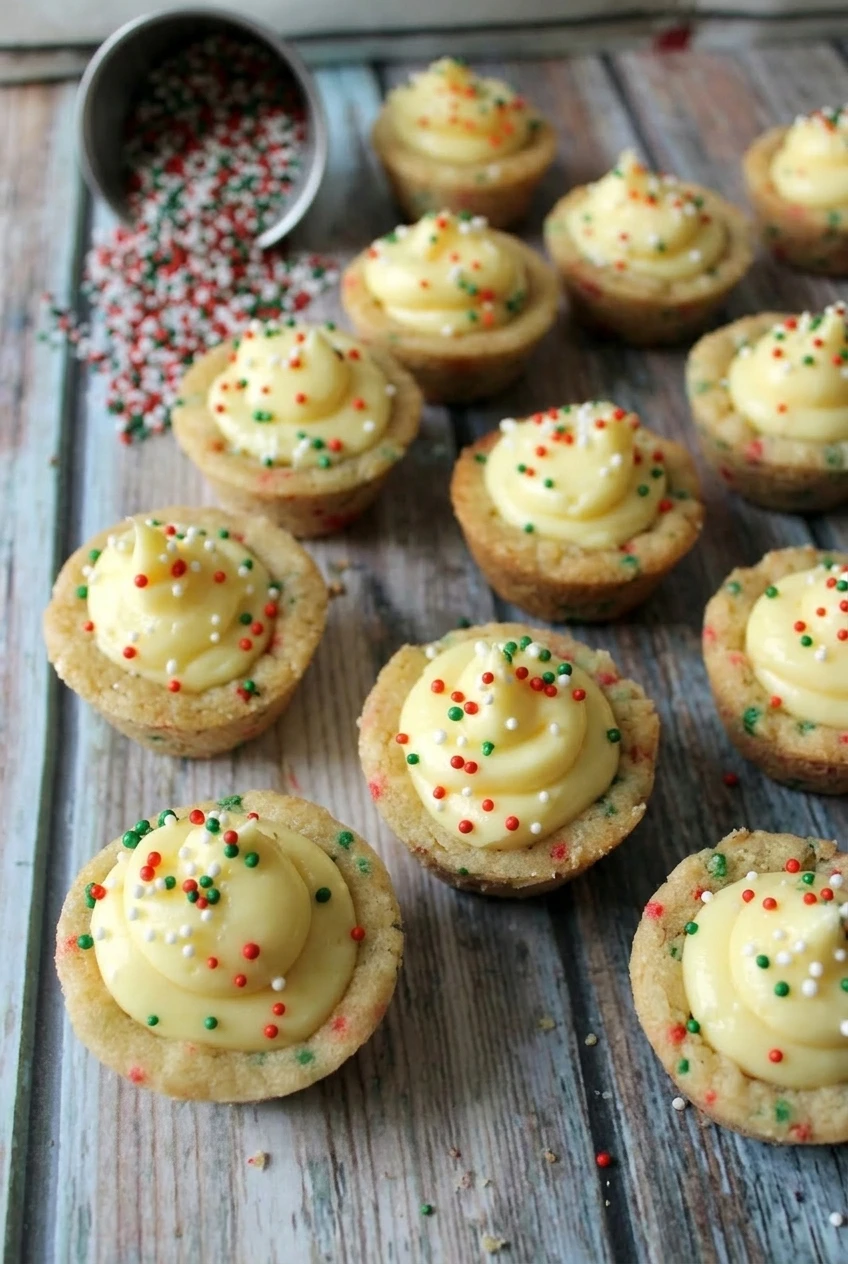
Christmas Sugar Cookie Cheesecake Cups
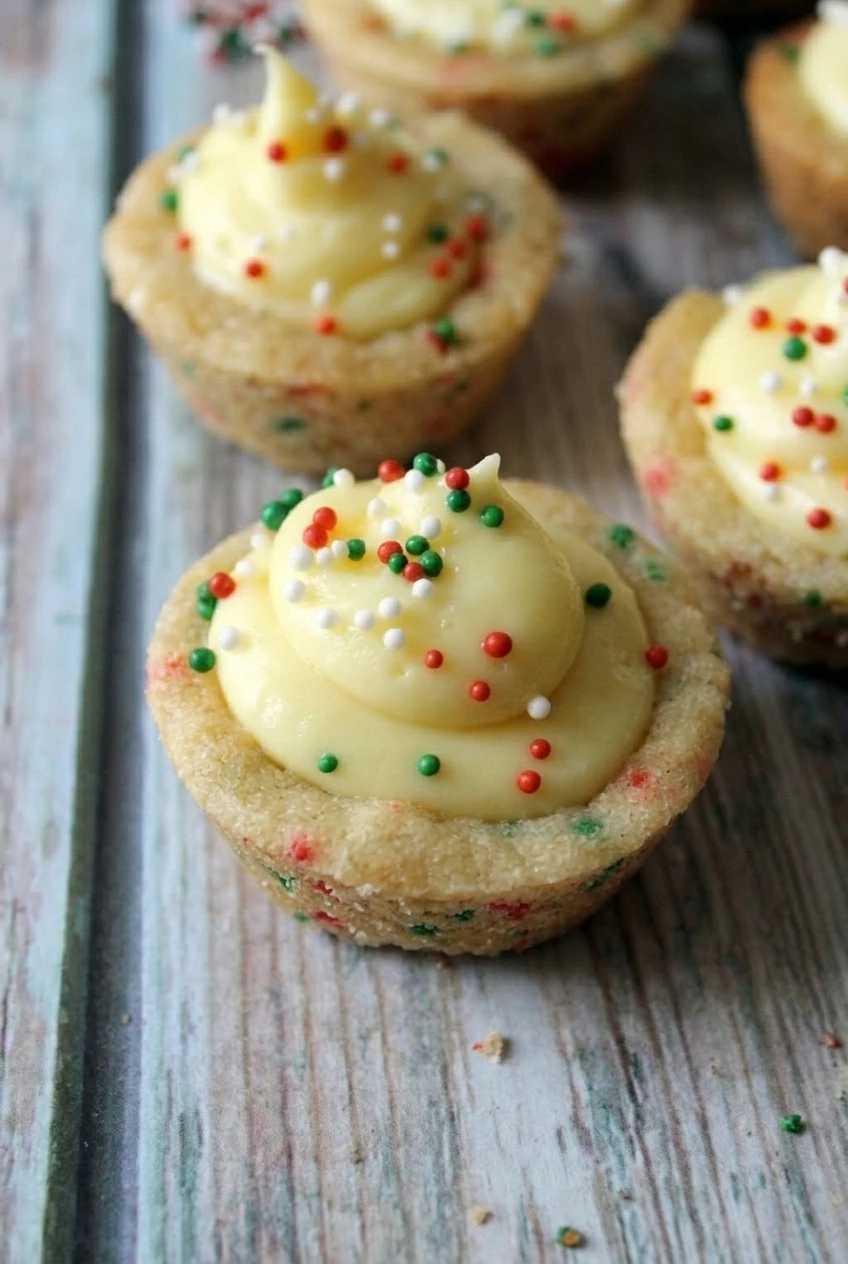
These mini sugar-cookie cups have lightly golden rims, shallow centers, and a smooth cheesecake-style filling piped into each shell. Red, green, and white sprinkles decorate both the cookies and the filling.
The key step is pressing the cookie centers as soon as they come out of the oven. Once the shells cool, they are too firm to shape easily. Fill them only when completely cool, then chill the cups until the no-bake filling holds its swirl.
Ingredients for Christmas Sugar Cookie Cheesecake Cups
- About 16–17 ounces refrigerated sugar-cookie dough (480g), enough for 24 mini muffin wells
- 8 ounces cream cheese, softened (225g)
- 1/2 cup powdered sugar (60g)
- 1 tablespoon sour cream
- 1 teaspoon vanilla extract
- Pinch of fine salt
- About 1/4 cup red, green, and white Christmas sprinkles (45g), divided
Homemade sugar-cookie dough or dough made from a mix can also work. Portion or chill it as needed so it can be pressed into the wells; baking time may differ.
How to Make Christmas Sugar Cookie Cheesecake Cups
- Prepare the pan and dough: Preheat the oven to 350°F (175°C) and lightly grease a mini muffin tin. If the dough package specifies a different baking temperature, follow its guidance. Divide the dough into 24 even portions. Press one into each well, covering the bottom and partway up the sides without making the base too thin. Press a few sprinkles into the dough, including some along the rims.
- Bake the shells: Bake uncovered for about 10 to 12 minutes, starting to check at 10 minutes. The edges should be lightly golden, while the centers are still soft enough to press. Dough brand, portion size, and pan material can affect the timing; check early if using a dark metal pan.
- Shape the cavities: Immediately press each warm center with a rounded wooden spoon handle or small tart tamper. Make a shallow well without piercing the bottom or crushing the rim.
- Cool and release: Let the shells firm up in the tin before gently loosening and removing them. Cool completely on a rack before filling.
- Make the filling: Beat the softened cream cheese until smooth. Add the powdered sugar, sour cream, vanilla, and salt; beat until creamy, scraping the bowl as needed. If the filling is too soft to hold a swirl, chill it briefly.
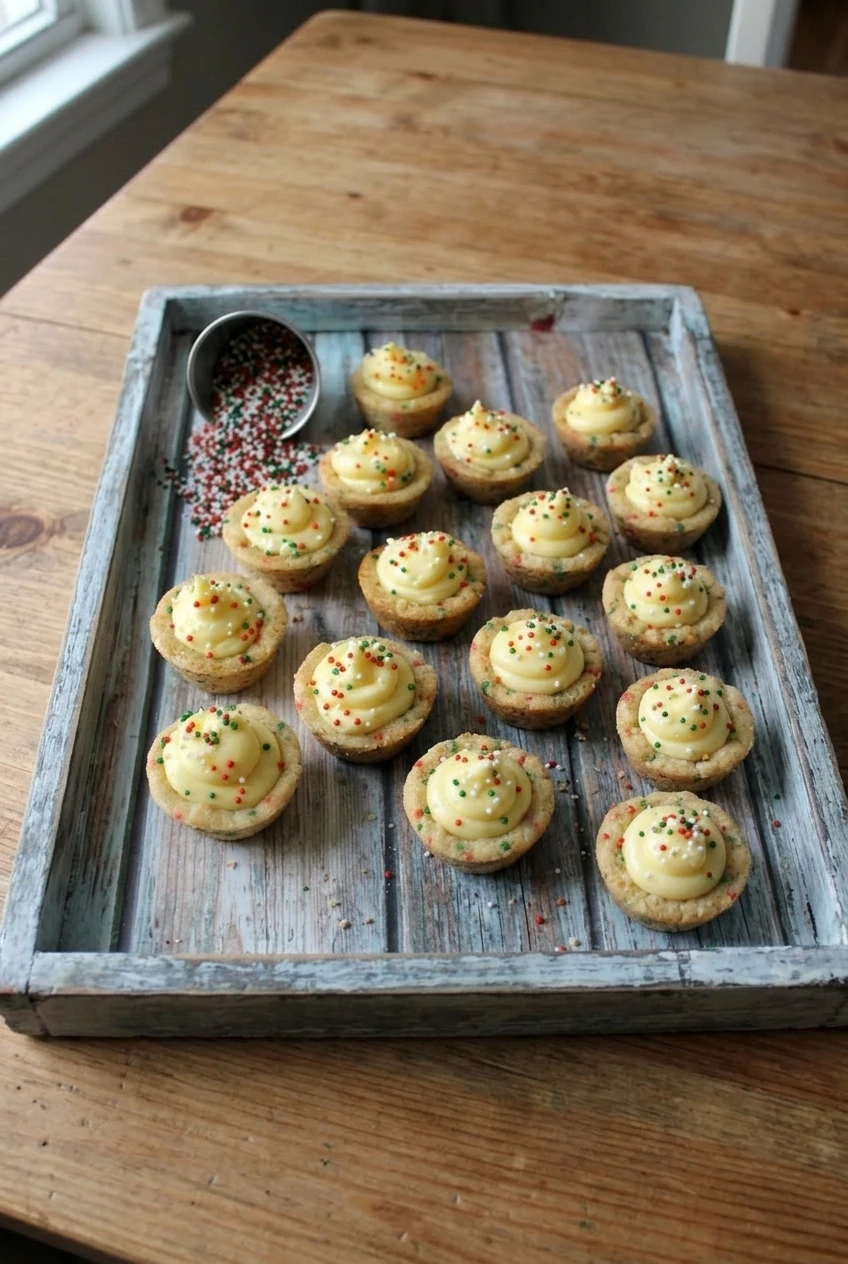
- Pipe and decorate: Transfer the filling to a piping bag or a sturdy zip-top bag with a small corner snipped off. Pipe a rounded swirl into each cooled shell and scatter the remaining sprinkles on top.
- Chill until set: Arrange the cups in a single layer and refrigerate for at least 1 hour, until the filling holds its shape. Keep chilled until serving.
How to Shape the Cookie-Cup Centers
Do not wait for the centers to sink on their own; some will stay puffed after baking. Press them while they are warm and pliable, using a rounded tool to create room for the filling without cutting through the base. Once the cookies cool, trying to reshape them can crack the shells.
How to Keep the Filling Smooth and Pipeable
Beat the cream cheese smooth before adding the other ingredients so the filling does not have lumps. Keep the sour cream to the measured tablespoon, and chill the mixture briefly if it is too loose to pipe. Fully cooled shells and a final chill help the swirls keep their shape.
How to Store and Make Ahead
Refrigerate filled cups in an airtight container. For the best texture, make them no more than two days ahead; plan to serve them within about 2 to 3 days. Freezing is not recommended because the piped filling may lose its texture.
To prepare the components ahead, bake and cool the shells, then refrigerate them separately from the filling. Pipe and decorate closer to serving when practical. For another individual holiday dessert, try gingerbread cheesecake trifles.
Nutrition
Approximate nutrition per mini cup, based on 1 of 24 cups: 145 calories, 2g protein, 7g fat, and 18g carbohydrates. Approximate nutrition per 100g: 415 calories, 5g protein, 21g fat, and 53g carbohydrates. Values vary with the dough, cream cheese, and sprinkles used.
Christmas Sugar Cookie Cheesecake Cups
Equipment
- Mini muffin tin
- Mixing bowl
- Electric mixer
- Rounded wooden spoon handle or tart tamper
- Cooling rack
- Piping bag or zip-top bag
Ingredients
Cookie Shells
- About 16–17 ounces refrigerated sugar-cookie dough (480 g), enough for 24 mini muffin wells
- About 1/4 cup red, green, and white Christmas sprinkles (45 g), divided
Cheesecake Filling
- 8 ounces cream cheese, softened (225 g)
- 1/2 cup powdered sugar (60 g)
- 1 tablespoon sour cream
- 1 teaspoon vanilla extract
- Pinch of fine salt
Instructions
- Preheat the oven to 350°F (175°C) and lightly grease a mini muffin tin. If the dough package specifies a different baking temperature, follow its guidance.
- Divide the dough into 24 even portions. Press one portion into each well, covering the bottom and partway up the sides without making the base too thin.
- Press a few sprinkles into each dough portion, including some along the rims.
- Bake uncovered for 10 to 12 minutes, checking at 10 minutes. Remove when the edges are lightly golden and the centers are still soft enough to press.
- Immediately press each warm center with a rounded wooden spoon handle or small tart tamper to create a shallow well without piercing the base.
- Let the shells firm up in the tin, then gently loosen and remove them. Cool completely on a rack.
- Beat the softened cream cheese until smooth. Add the powdered sugar, sour cream, vanilla, and salt, then beat until creamy, scraping the bowl as needed.
- Chill the filling briefly if it is too soft to pipe. Transfer it to a piping bag or a sturdy zip-top bag with a small corner snipped off.
- Pipe a rounded swirl of filling into each cooled shell and scatter the remaining sprinkles on top.
- Arrange the cups in a single layer and refrigerate for at least 1 hour, until the filling holds its shape. Keep chilled until serving.
Tips
- Press the cookie centers as soon as the shells come out of the oven; cooled shells may crack if reshaped.
- Make shallow wells and avoid piercing the cookie bases.
- Check the shells early, especially when using a dark metal pan.
- Cool the shells completely before filling them.
- Chill the filling briefly if it is too loose to hold a piped swirl.
Variations
- Homemade Sugar Cookie Cups: Use homemade sugar-cookie dough or dough made from a mix, adjusting chilling and baking time as needed.