

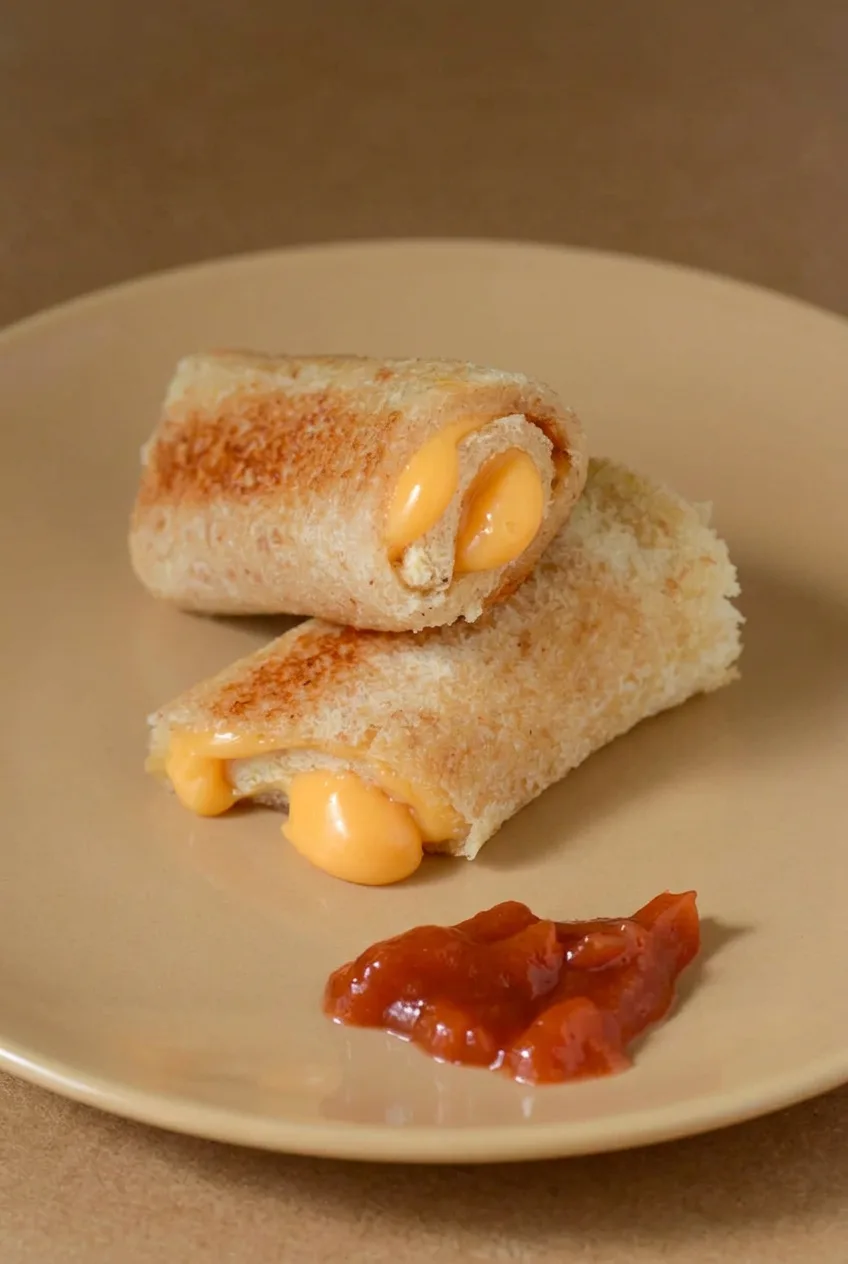
Kid-Friendly Grilled Cheese Roll-Ups
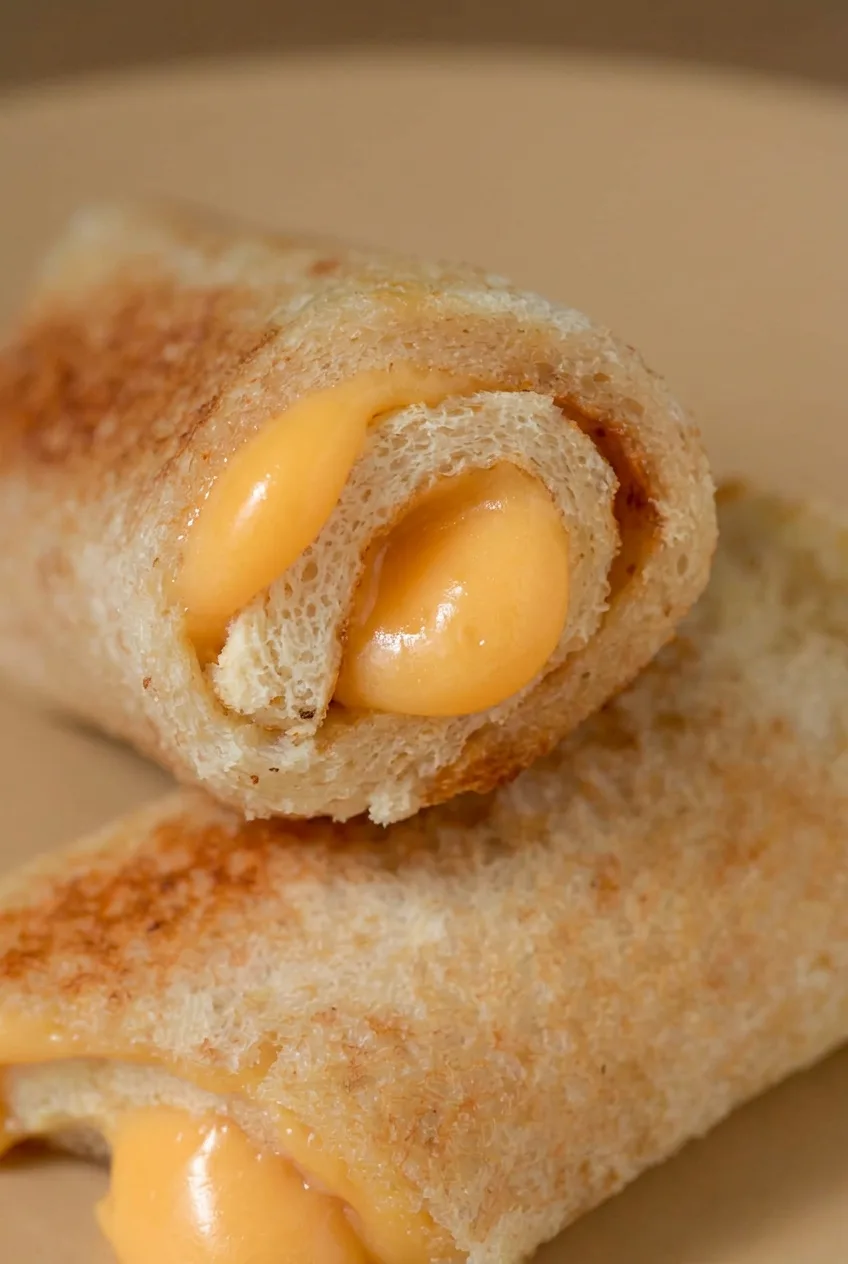
Flattened sandwich bread wraps around orange cheese to make small, hand-held grilled cheese rolls. Toasting the seam first keeps each roll closed; turning it gradually browns the curved sides while the cheese melts. Keep the skillet at moderate heat and look for lightly crisp bread and glossy cheese at the open ends rather than relying only on the clock.
Makes 6 roll-ups, or about 3 snack servings. Allow about 10 minutes to prepare them and 8–12 minutes to cook, depending on how many batches your skillet holds.
Ingredients for Grilled Cheese Roll-Ups
- 6 large slices soft sandwich bread, preferably white, crusts trimmed
- 6 slices orange American cheese, about 4–5 ounces total (about 130g)
- 2 tablespoons butter, divided (about 30g)
- Optional: About 2 tablespoons thick tomato-based dipping sauce, such as ketchup, for serving
How to Make Grilled Cheese Roll-Ups in a Skillet
- Flatten the bread: Trim the crusts, then flatten each slice with a rolling pin until thin and flexible but still intact. A heavy, flat-bottomed pan also works.
- Fill and roll: Place one cheese slice on each piece of bread, leaving about 1/2 inch of bread bare along the edge that will form the seam. Roll snugly toward that bare edge and press the seam closed.
- Set the seams: Warm a 10- to 12-inch nonstick or well-seasoned skillet over medium-low heat. Melt enough butter to coat it with a thin film. Add a few rolls seam-side down, leaving room to turn them, and press gently. Start checking after 45–60 seconds; turn them once the seams hold when nudged.
- Toast every side: Rotate each roll about a quarter turn at a time, cooking uncovered until the bread is lightly golden and crisp around its curved surface and the cheese at the open ends looks soft and glossy. Allow about 3–5 minutes per batch, using those cues rather than the time alone. Lower the heat if the bread darkens before the cheese melts. Repeat with the remaining rolls, adding butter as needed to keep a thin film in the skillet.
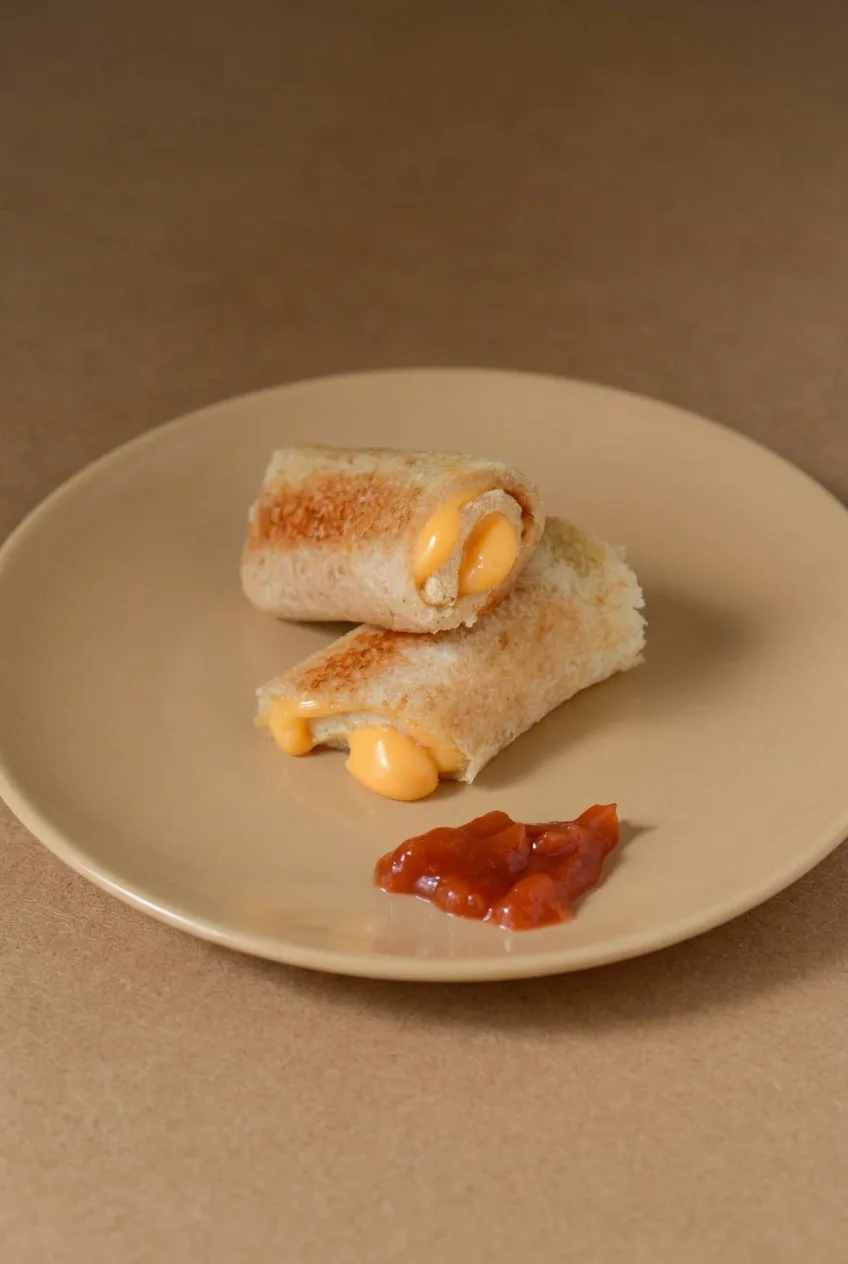
- Serve warm: Keep the rolls intact, with their cheese-filled ends visible. Let them cool briefly before serving to young children; the melted cheese can be hot.
How to Keep the Roll-Ups Closed
Soft, well-flattened bread bends around the cheese without cracking. The bare edge lets bread overlap bread at the seam, and cooking that seam first helps it stay closed. A little cheese peeking from an open end is expected. If cheese leaks along the seam, leave more of that sealing edge bare and roll the next one more snugly.
Bread, Cheese, and Dipping Options
Soft wheat or multigrain bread works if it flattens without tearing. Pliable crusts can stay on, though trimming them makes neater rolls. Sliced cheddar or mozzarella can replace American cheese, but the color and melt will differ. Neutral cooking oil can replace the butter, with a different flavor.
Serve a small dollop of tomato-based sauce beside the rolls, or offer tomato soup for dipping. Keep the plain cheese filling free of sauce so the bread is easier to roll.
Serving and Reheating
Serve the roll-ups fresh while the bread is crisp and the cheese is melted. For a plated snack, loosely stack two with their open ends showing and put the dip beside them. For another cheesy meal, try Crock Pot Rotel Pasta with Beef and Creamy Cheese.
If you refrigerate leftovers, rewarm them gently in a lightly buttered skillet until the cheese melts again.
Nutrition
Approximate nutrition per snack serving of 2 roll-ups: 310 calories, 11g protein, 20g fat, and 23g carbohydrates. Approximate values per 100g: 335 calories, 12g protein, 22g fat, and 25g carbohydrates. Estimates include the bread, cheese, and butter but not optional dips; values vary with the ingredients and the amount of butter absorbed.
Equipment
- Rolling pin
- 10- to 12-inch skillet
Ingredients
- 6 large slices soft sandwich bread, preferably white, crusts trimmed
- 6 slices orange American cheese, about 4–5 ounces total (about 130 g)
- 2 tablespoons butter, divided (about 30 g)
- Optional: about 2 tablespoons thick tomato-based dipping sauce, such as ketchup, for serving
Instructions
- Trim the crusts from the bread and flatten each slice with a rolling pin until thin and flexible but still intact.
- Place one slice of cheese on each piece of bread, leaving about 1/2 inch bare along the edge that will form the seam.
- Roll each slice snugly toward the bare edge and press the seam closed.
- Warm a 10- to 12-inch nonstick or well-seasoned skillet over medium-low heat. Melt enough butter to coat the skillet with a thin film.
- Add a few rolls seam-side down, leaving room to turn them, and press gently. Start checking after 45–60 seconds; turn once the seams hold when nudged.
- Rotate each roll about a quarter turn at a time until the bread is lightly golden and crisp and the cheese at the open ends looks soft and glossy, about 3–5 minutes per batch.
- Lower the heat if the bread darkens before the cheese melts. Repeat with the remaining rolls, adding butter as needed to keep a thin film in the skillet.
- Serve warm with the cheese-filled ends visible. Let the rolls cool briefly before serving to young children.
Tips
- Flatten the bread until flexible, but not so thin that it tears.
- Leave a bare edge for the bread to overlap and seal.
- Cook the seam first and check that it holds before turning the rolls.
- Use the bread’s color and the cheese’s glossy appearance to judge doneness; lower the heat if the bread browns too quickly.
- Keep dipping sauce beside the rolls rather than inside them.
Variations
- Wheat or Multigrain Roll-Ups: Use soft wheat or multigrain bread that can be flattened without tearing.
- Cheddar or Mozzarella Roll-Ups: Replace the American cheese with sliced cheddar or mozzarella; the color and melt will differ.
- Oil-Toasted Roll-Ups: Replace the butter with neutral cooking oil for a different flavor.