

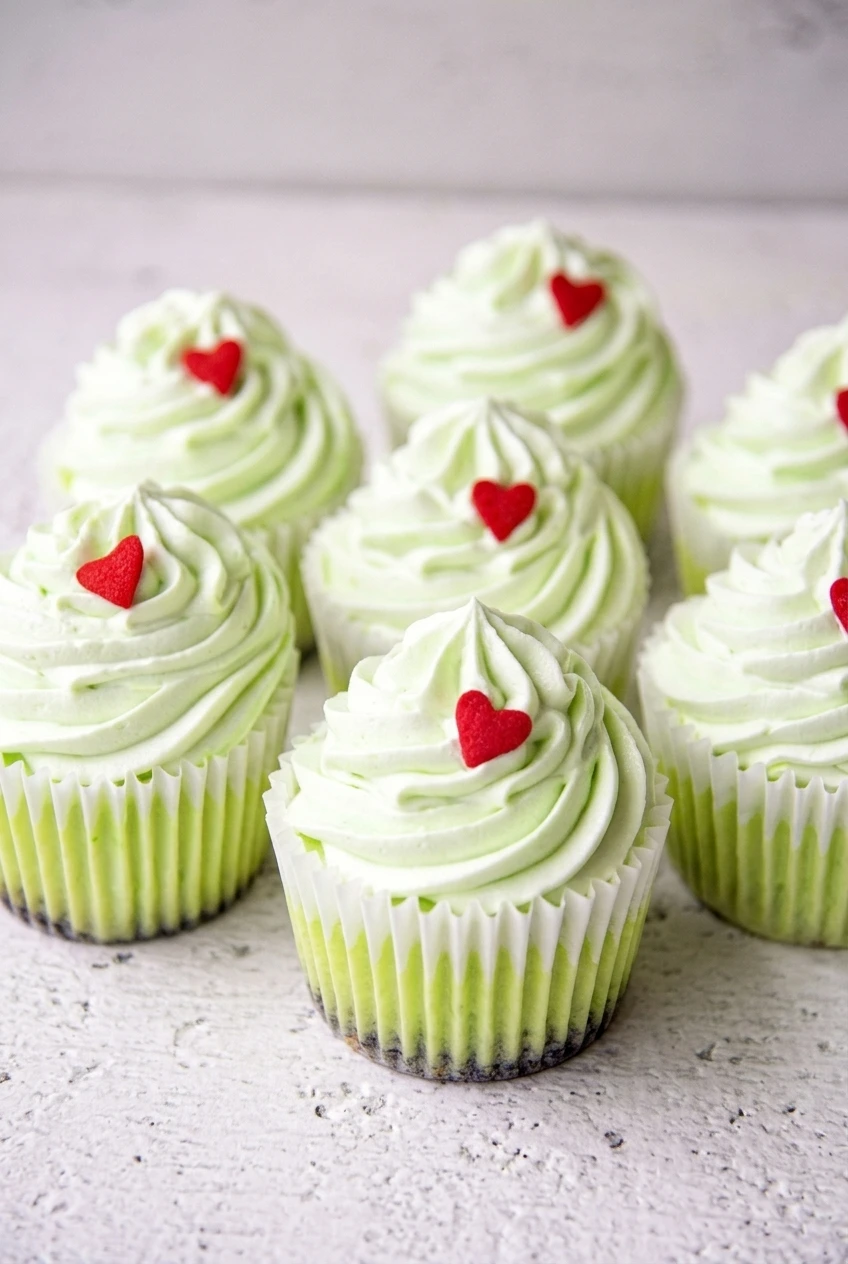
Grinch Cheesecake Dessert Cups
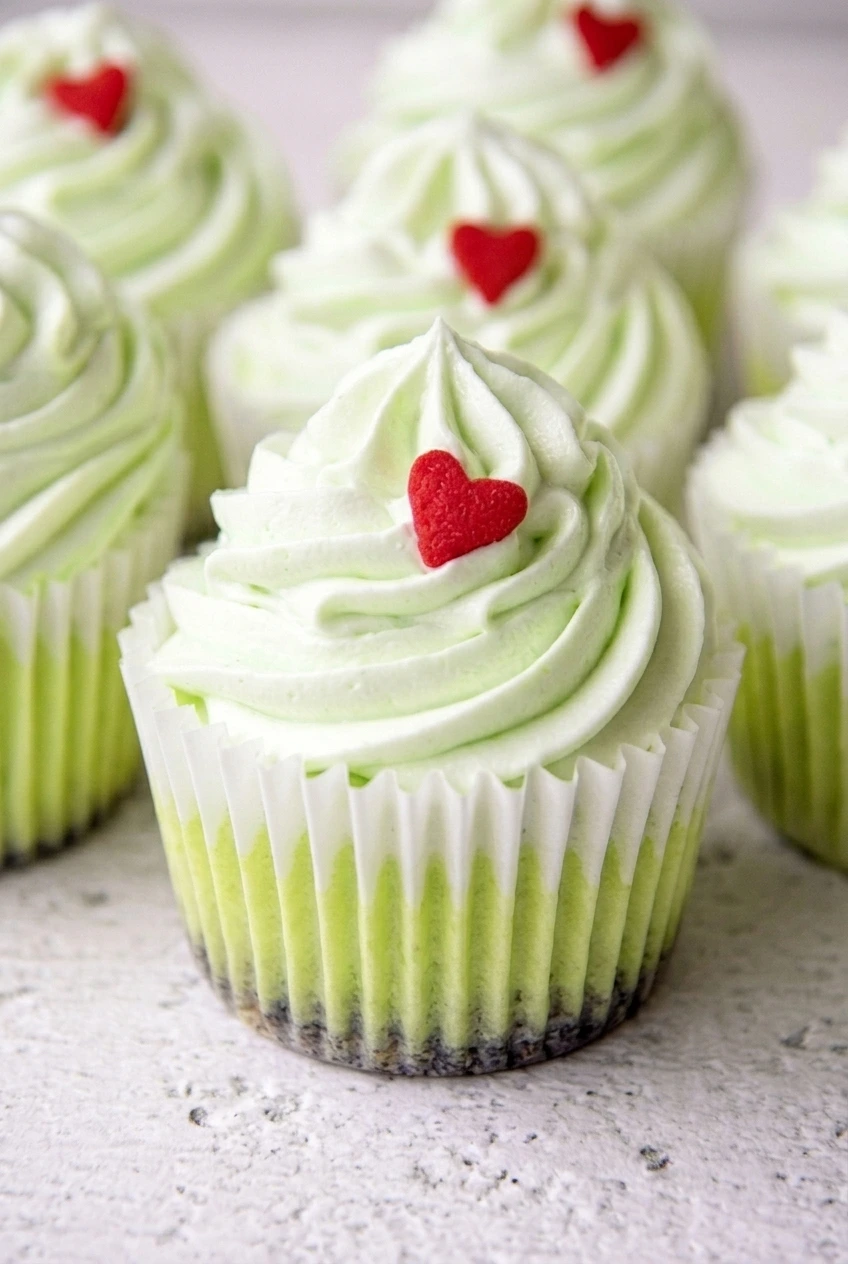
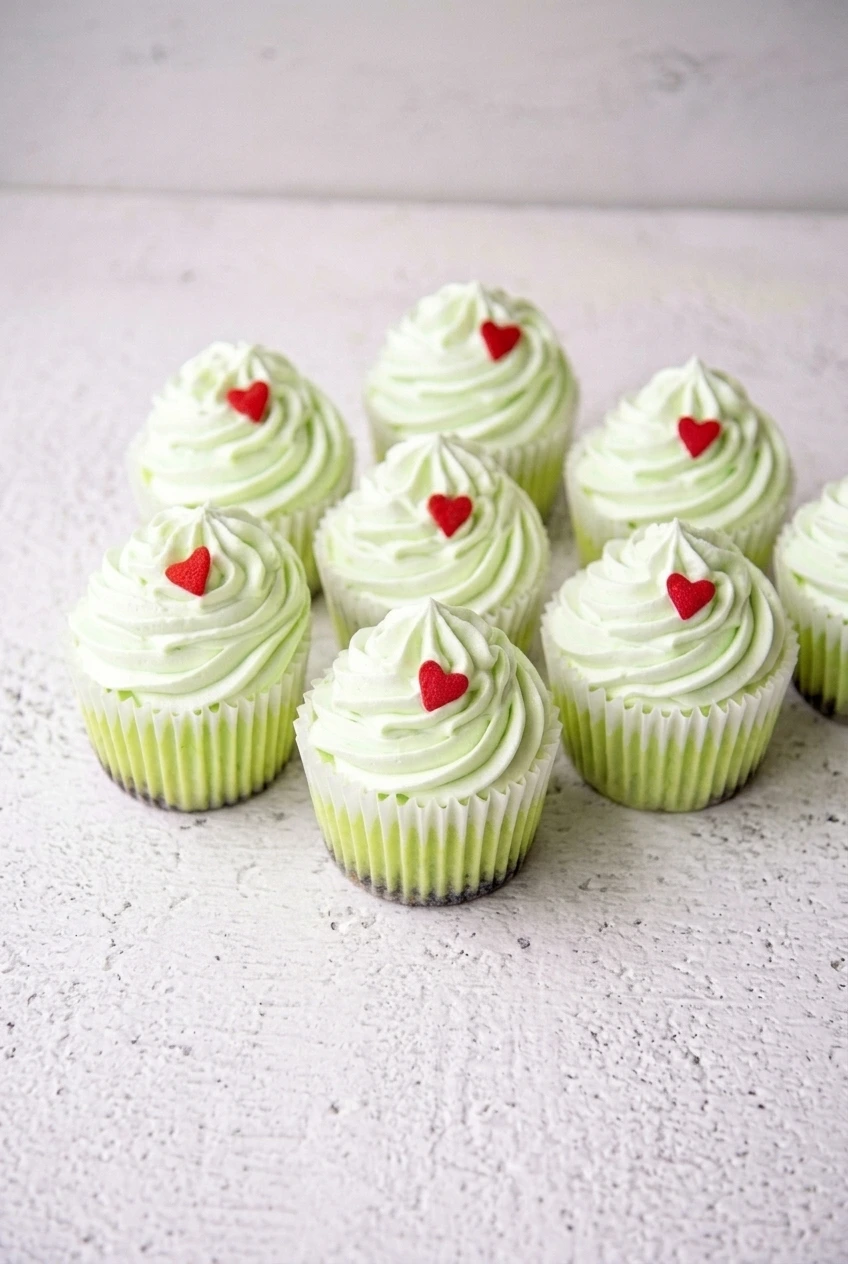
These baked mini cheesecakes have a compact graham cracker base, green cream-cheese filling, and a tall white-and-pale-green whipped-cream swirl topped with a red heart. The crumb bases bake briefly before the filling goes in, so each layer has its own baking step.
Take the cheesecakes out when their edges are set but their centers still wobble slightly. A long chill firms the filling and gives the whipped cream a cold surface that helps its piped ridges hold their shape.
Ingredients for Grinch Cheesecake Dessert Cups
- 1 cup graham cracker crumbs (100g)
- 4 tablespoons unsalted butter, melted (55g)
- 2/3 cup granulated sugar, divided (135g)
- Three 8-ounce packages cream cheese, softened (680g)
- 2 large eggs, at room temperature
- 1/2 cup sour cream (120g)
- 1 teaspoon vanilla extract
- A few drops green gel food coloring, added gradually
- 1 cup cold heavy whipping cream (240g)
- 2 tablespoons powdered sugar (15g)
- 12 red heart-shaped sprinkles
- 1–2 additional drops green gel food coloring for the whipped cream, as needed
- A small pinch of fine salt for the crumb bases, optional
How to Make Grinch Cheesecake Dessert Cups
- Prepare the pan: Preheat the oven to 350°F (175°C). Line a standard 12-cup muffin tin with paper liners. The cream cheese should be softened, not melted, so it blends smoothly.
- Bake the crumb bases: Mix the graham cracker crumbs, melted butter, 2 tablespoons of the measured granulated sugar, and the optional salt until the crumbs are evenly moistened. Divide among the liners and press into compact, level layers. Bake for 5 minutes, until the bases look set rather than loose or wet.
- Mix the filling: Beat the cream cheese with the remaining granulated sugar until smooth. Mix in the sour cream and vanilla. Add the eggs one at a time on low speed, stopping once incorporated. Add green gel coloring a little at a time and mix until the color is even.
- Fill and bake: Divide the filling evenly among the crust-lined cups without overfilling. Bake uncovered for about 15 to 20 minutes, starting to check at 15 minutes. The edges should look set and the centers should wobble slightly, not look liquid. Rotate the tin only if your oven bakes unevenly.
- Cool and chill: Let the cups cool in the pan until they are no longer hot. Keep them in their liners and refrigerate for at least 6 hours or overnight, until cold and firm.
- Decorate: Whip the cold heavy cream with the powdered sugar until it holds firm peaks. Keep half white and tint the rest pale green with the additional gel coloring. Place the colors alongside each other in a piping bag fitted with a large star tip. Pipe a tall swirl onto each chilled cheesecake and add one red heart near the top.
How to Tell When the Cheesecakes Are Done
Gently nudge the pan when you check the filling. The edges should stay set while the centers move slightly. Do not wait for the centers to look completely firm in the oven; they finish setting as the cups cool and chill. Muffin tins and fill levels can affect the bake time, so use this cue rather than the clock alone.
How to Keep the Two-Tone Swirl Defined
Use cold cream and, if the kitchen is warm, chill the bowl and beaters before whipping. Firm peaks and fully chilled cheesecakes help the piped topping hold its ridges. Keep the two colors side by side in the piping bag so both remain visible, then refrigerate the decorated cups until serving.
How to Store Grinch Cheesecake Dessert Cups
Keep the cups covered in the refrigerator without stacking them. You can bake and chill the cheesecakes ahead, then pipe the whipped cream and add the hearts nearer serving to protect the topping. Serve chilled; do not reheat.
Nutrition
Approximate nutrition per dessert cup, based on 12 cups: 410 calories, 6g protein, 34g fat, and 22g carbohydrates. Per 100g: about 340 calories, 5g protein, 28g fat, and 18g carbohydrates. Values vary with ingredients and portion sizes.
Grinch Cheesecake Dessert Cups
Equipment
- 12-cup muffin tin
- Paper liners
- Mixing bowls
- Electric mixer
- Piping bag
- Large star piping tip
Ingredients
For the Crust
- 1 cup graham cracker crumbs (100g)
- 4 tablespoons unsalted butter, melted (55g)
- 2 tablespoons granulated sugar, from the measured amount
- Small pinch fine salt, optional
For the Cheesecake Filling
- Three 8-ounce packages cream cheese, softened (680g)
- Remaining granulated sugar (from 2/3 cup total, 135g)
- 2 large eggs, at room temperature
- 1/2 cup sour cream (120g)
- 1 teaspoon vanilla extract
- A few drops green gel food coloring, added gradually
For the Topping
- 1 cup cold heavy whipping cream (240g)
- 2 tablespoons powdered sugar (15g)
- 1–2 additional drops green gel food coloring, as needed
- 12 red heart-shaped sprinkles
Instructions
- Preheat the oven to 350°F (175°C). Line a standard 12-cup muffin tin with paper liners.
- Mix the graham cracker crumbs, melted butter, 2 tablespoons granulated sugar, and optional salt until evenly moistened.
- Divide the crumb mixture among the liners and press into compact, level layers. Bake for 5 minutes, until set.
- Beat the cream cheese with the remaining granulated sugar until smooth. Mix in the sour cream and vanilla.
- Add the eggs one at a time on low speed, mixing just until incorporated. Add green gel coloring gradually and mix until evenly colored.
- Divide the filling among the crust-lined cups without overfilling. Bake uncovered for 15 to 20 minutes, until the edges are set and the centers wobble slightly.
- Cool the cheesecakes in the pan until no longer hot. Keep them in their liners and refrigerate for at least 6 hours or overnight, until cold and firm.
- Whip the cold heavy cream with the powdered sugar until firm peaks form. Keep half white and tint the other half pale green.
- Place the two whipped cream colors side by side in a piping bag fitted with a large star tip. Pipe a tall swirl onto each chilled cheesecake and top with a red heart sprinkle.
Tips
- Use softened, not melted, cream cheese for a smooth filling.
- Add green gel coloring a little at a time to control the color.
- Check the cheesecakes for set edges and slightly wobbly centers rather than relying on bake time alone.
- Use cold cream and chill the bowl and beaters if the kitchen is warm.
- Keep the two whipped cream colors side by side in the piping bag so both show in the swirl.