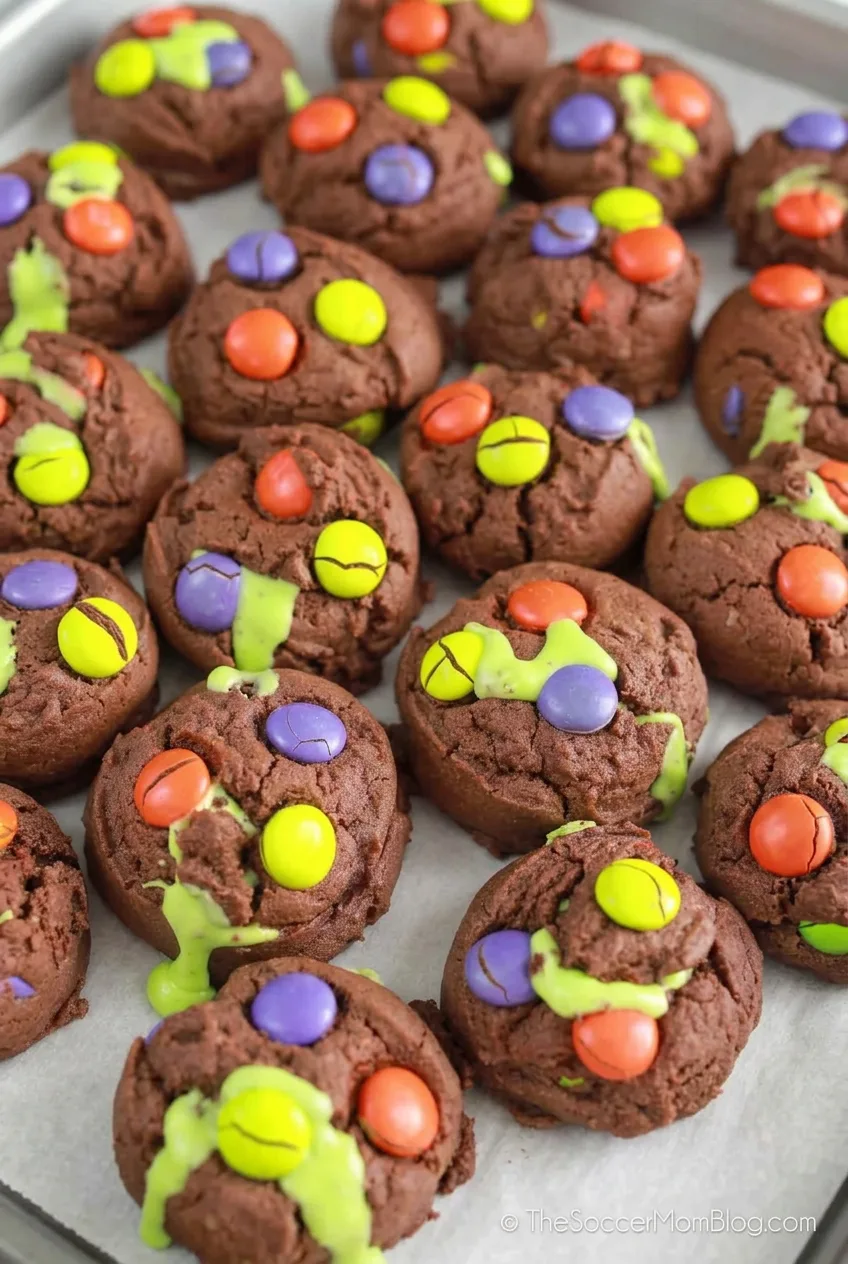
Hocus Pocus Halloween Cookies
Thick chocolate cookies, orange, purple, and neon-green candies, and a bright green frosting center give this version of Hocus Pocus cookies its Halloween look. Unlike a marbled sugar cookie, the dough is cocoa-based, with soft centers and craggy tops.
The frosting goes into the cookies after they cool, so it stays vivid and can peek through a crack or edge. For the right texture, take the cookies out when the edges are set but the centers still look soft; they will finish setting on the baking sheet.
Yield: 18 cookies. Prep: About 25 minutes. Bake: 9–11 minutes per sheet, plus cooling and optional chilling time.
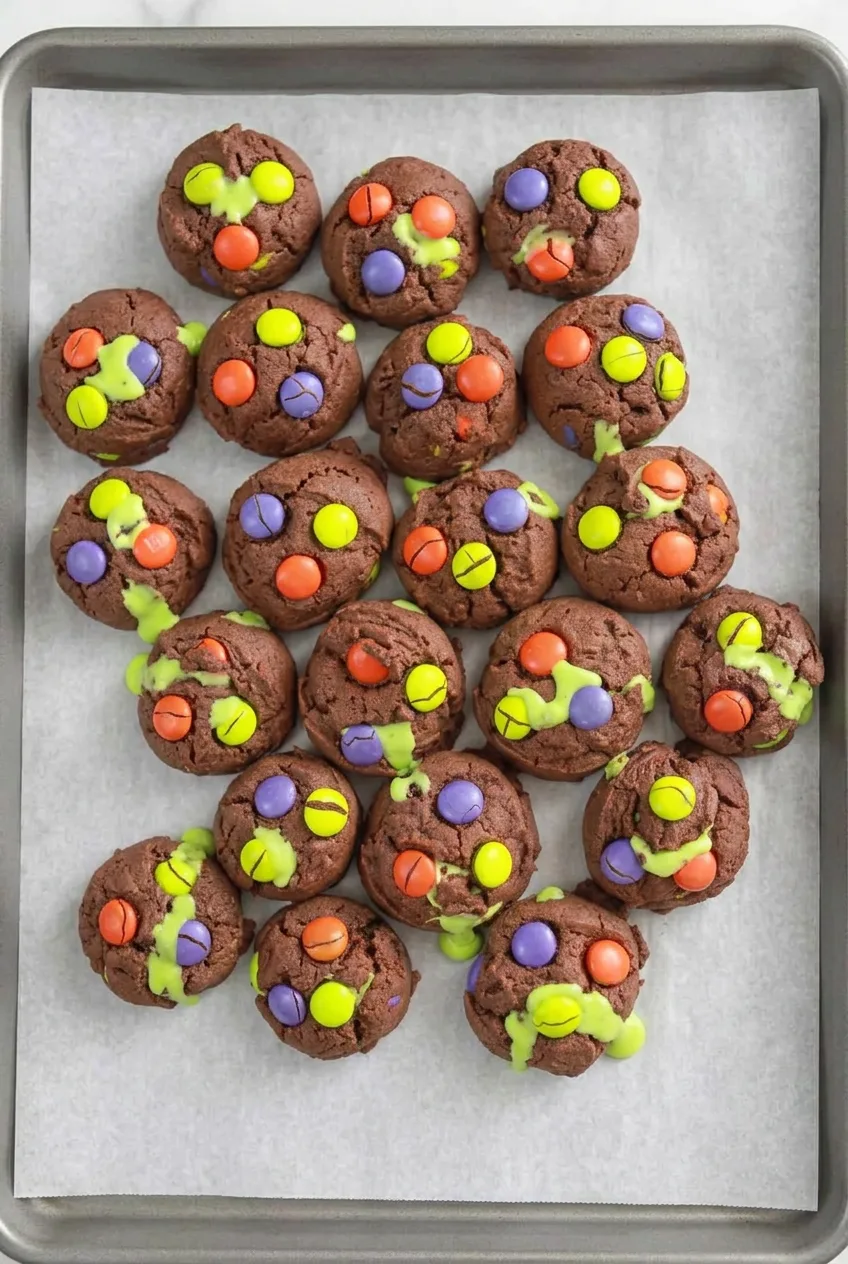
Ingredients for Hocus Pocus Halloween Cookies
- 2 cups all-purpose flour (240g)
- 3/4 cup unsweetened cocoa powder (65g)
- 2 teaspoons cornstarch
- 1 teaspoon baking soda
- 1/2 teaspoon fine salt
- 3/4 cup unsalted butter, softened (170g)
- 3/4 cup granulated sugar (150g)
- 1/2 cup packed light brown sugar (105g)
- 2 large eggs
- 2 teaspoons vanilla extract
- 1 1/2 cups orange, purple, and neon-green candy-coated chocolate candies, divided (about 255g)
- 1 cup vanilla frosting (about 240g)
- Neon-green gel food coloring, about 1/4 teaspoon or as needed
- 1–2 teaspoons milk, only if needed to loosen the frosting
Set aside 1/2 cup of the candies for the tops. Candies mixed only into the dough may disappear from view, while the reserved pieces keep all three colors visible. Gel coloring makes the frosting bright green without adding much liquid.
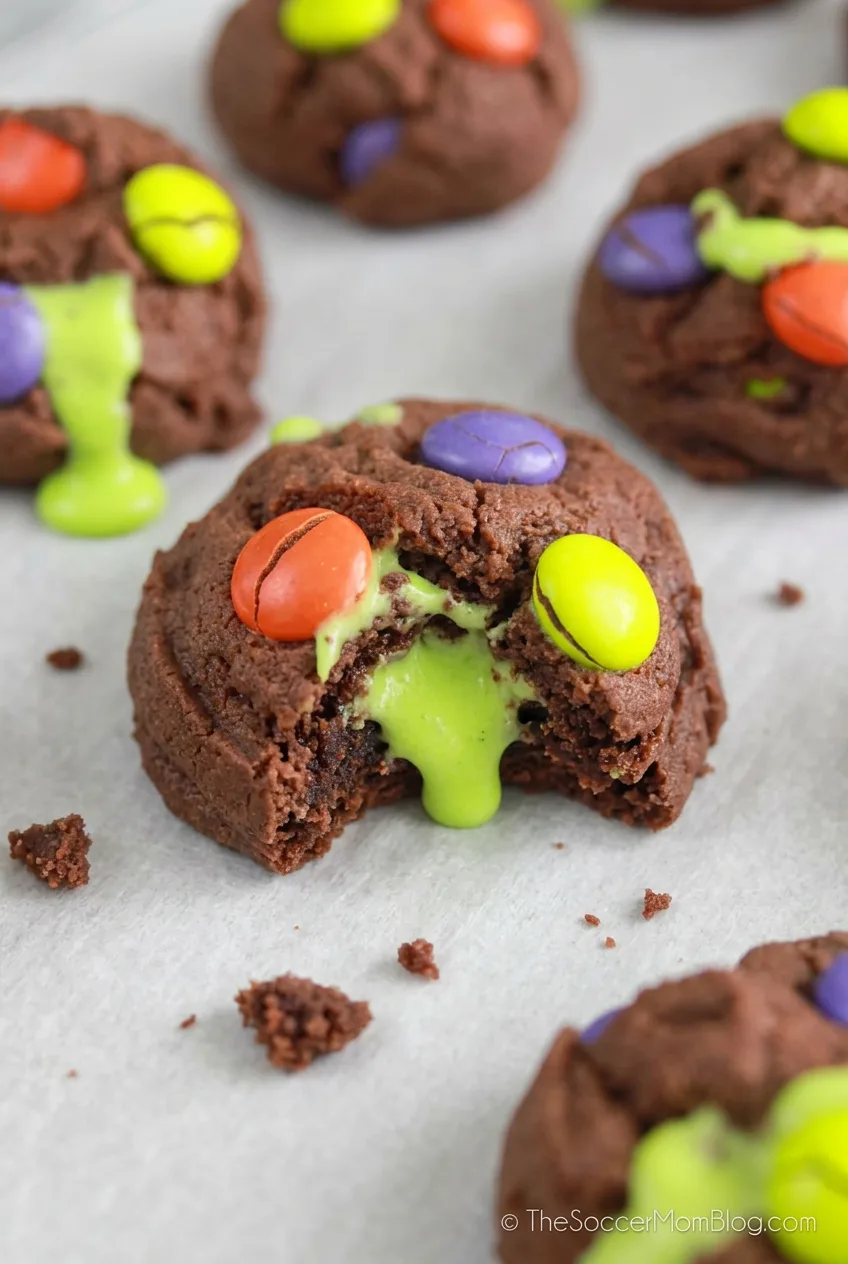
How to Bake Hocus Pocus Halloween Cookies
- Prepare the pans: Preheat the oven to 350°F (175°C). Line two light-colored baking sheets with parchment paper.
- Mix the dry ingredients: Whisk the flour, cocoa powder, cornstarch, baking soda, and salt in a medium bowl until evenly combined.
- Make the dough: Beat the softened butter, granulated sugar, and brown sugar until creamy. Beat in the eggs and vanilla. Add the dry ingredients and mix just until no dry streaks remain. Fold in 1 cup of the candies. The dough should be thick and scoopable.
- Chill if needed: If the dough is sticky or too soft to scoop cleanly, cover and refrigerate it for about 20 minutes. If it is already firm, portion it right away.
- Portion and decorate: Scoop 2-tablespoon portions onto the prepared sheets, leaving about 3 inches between them. Keep the dough balls tall rather than flattening them. Press 3–5 reserved candies into each top, using all three colors where possible.
- Bake and cool: Bake one sheet at a time on the center rack for 9–11 minutes, starting checks at 9 minutes. The edges should be set, the tops puffed and cracked, and the centers still soft rather than wet or shiny. Cool on the pan for 8–10 minutes, then transfer to a rack to cool completely.
- Tint the frosting: Stir the gel coloring into room-temperature vanilla frosting. If it is too stiff to pipe, add milk 1 teaspoon at a time. The frosting should flow under gentle pressure but not be runny.
- Fill the cookies: Using a piping bag with a small round tip or a squeeze bottle, insert the tip into the bottom or side of each completely cooled cookie. Pipe in about 1–2 teaspoons of frosting, stopping as soon as a little green appears through a crack or at an edge. Forcing in more can split the cookie.
- Let the filling set: Leave the cookies for 15–20 minutes before serving or stacking to reduce smearing.
How to Keep the Cookies Thick and Soft
Use softened butter, not melted butter. If the dough feels warm or sticky, the short chill helps limit spreading; generous spacing keeps the cookies from running together. Do not wait for the centers to look fully dry before removing the cookies from the oven, or the thick cocoa cookies may be hard once cooled. A few cracked candy shells are normal.
How to Fill the Cookies Without Splitting Them
Cool the cookies completely before adding frosting; warmth can make it leak. If the piping tip is difficult to insert, make a small guide hole in the bottom with a skewer. A resealable plastic bag with a tiny corner snipped off can work in place of a piping bag, but fill slowly and stop at the first green peek. Some cookies will show more filling than others.
Serving and Storing Filled Cookies
Arrange the cookies close together on a parchment-lined tray. For a contrasting Halloween cookie, add Ghost Thumbprint Cookies with White Chocolate Ganache.
Let the frosting set before storing. Keep the cookies airtight in a single layer, or separate layers with parchment. If using shelf-stable frosting and the kitchen is cool, store at room temperature for up to 2 days. Follow the frosting label if it requires refrigeration. Refrigerate cookies made with perishable homemade frosting in an airtight container for up to 3 days, then let them sit at room temperature for 15–20 minutes before serving.
For a cleaner finish, bake the unfilled cookies a day ahead and pipe in the frosting before serving. Unfilled baked cookies can also be frozen airtight with parchment between layers for up to 2 months. Thaw at room temperature before filling; freezing filled cookies may affect the frosting’s appearance. Do not microwave filled cookies, as the frosting can melt and leak.
Nutrition
Approximate nutrition per cookie (1 of 18): 315 calories, 4g protein, 14g fat, and 45g carbohydrates. Per 100g: approximately 445 calories, 5g protein, 20g fat, and 64g carbohydrates. Values vary with the candies, frosting, and finished cookie weight.
Equipment
- 2 baking sheets
- parchment paper
- medium mixing bowl
- electric mixer
- cookie scoop
- wire rack
- piping bag or squeeze bottle
- small round piping tip
Ingredients
For the Cookie Dough
- 2 cups all-purpose flour (240g)
- 3/4 cup unsweetened cocoa powder (65g)
- 2 teaspoons cornstarch
- 1 teaspoon baking soda
- 1/2 teaspoon fine salt
- 3/4 cup unsalted butter, softened (170g)
- 3/4 cup granulated sugar (150g)
- 1/2 cup packed light brown sugar (105g)
- 2 large eggs
- 2 teaspoons vanilla extract
- 1 1/2 cups orange, purple, and neon-green candy-coated chocolate candies, divided (about 255g)
For the Green Filling
- 1 cup vanilla frosting (about 240g)
- Neon-green gel food coloring, about 1/4 teaspoon or as needed
- 1 to 2 teaspoons milk, if needed
Instructions
- Preheat the oven to 350°F (175°C). Line two light-colored baking sheets with parchment paper.
- Whisk the flour, cocoa powder, cornstarch, baking soda, and salt in a medium bowl.
- Beat the softened butter, granulated sugar, and brown sugar until creamy.
- Beat in the eggs and vanilla extract until combined.
- Add the dry ingredients and mix just until no dry streaks remain.
- Fold in 1 cup of the candy-coated chocolates. Reserve the remaining 1/2 cup for topping the cookies.
- Cover and refrigerate the dough for about 20 minutes if it is sticky or too soft to scoop.
- Scoop 2-tablespoon portions of dough onto the prepared baking sheets, spacing them about 3 inches apart. Keep the dough balls tall and do not flatten them.
- Press 3 to 5 reserved candies into the top of each dough ball, using a mix of colors when possible.
- Bake one sheet at a time on the center rack for 9 to 11 minutes, checking at 9 minutes. Remove the cookies when the edges are set, the tops are puffed and cracked, and the centers are still soft.
- Cool the cookies on the baking sheet for 8 to 10 minutes, then transfer them to a wire rack to cool completely.
- Stir neon-green gel food coloring into the vanilla frosting. Add milk 1 teaspoon at a time only if needed to make the frosting pipeable.
- Insert a small round piping tip or squeeze-bottle tip into the bottom or side of each cooled cookie. Pipe in about 1 to 2 teaspoons of frosting, stopping when a little green frosting appears at a crack or edge.
- Let the filled cookies stand for 15 to 20 minutes before serving or stacking.
Tips
- Use softened butter rather than melted butter to help the cookies stay thick.
- Chill sticky or warm dough for about 20 minutes to reduce spreading.
- Keep the dough balls tall and leave generous space between them for thick cookies.
- Remove the cookies while the centers still look soft; they will finish setting on the baking sheet.
- Cool cookies completely before filling so the frosting does not melt or leak.
- Pipe slowly and stop as soon as frosting peeks through to avoid splitting the cookies.
