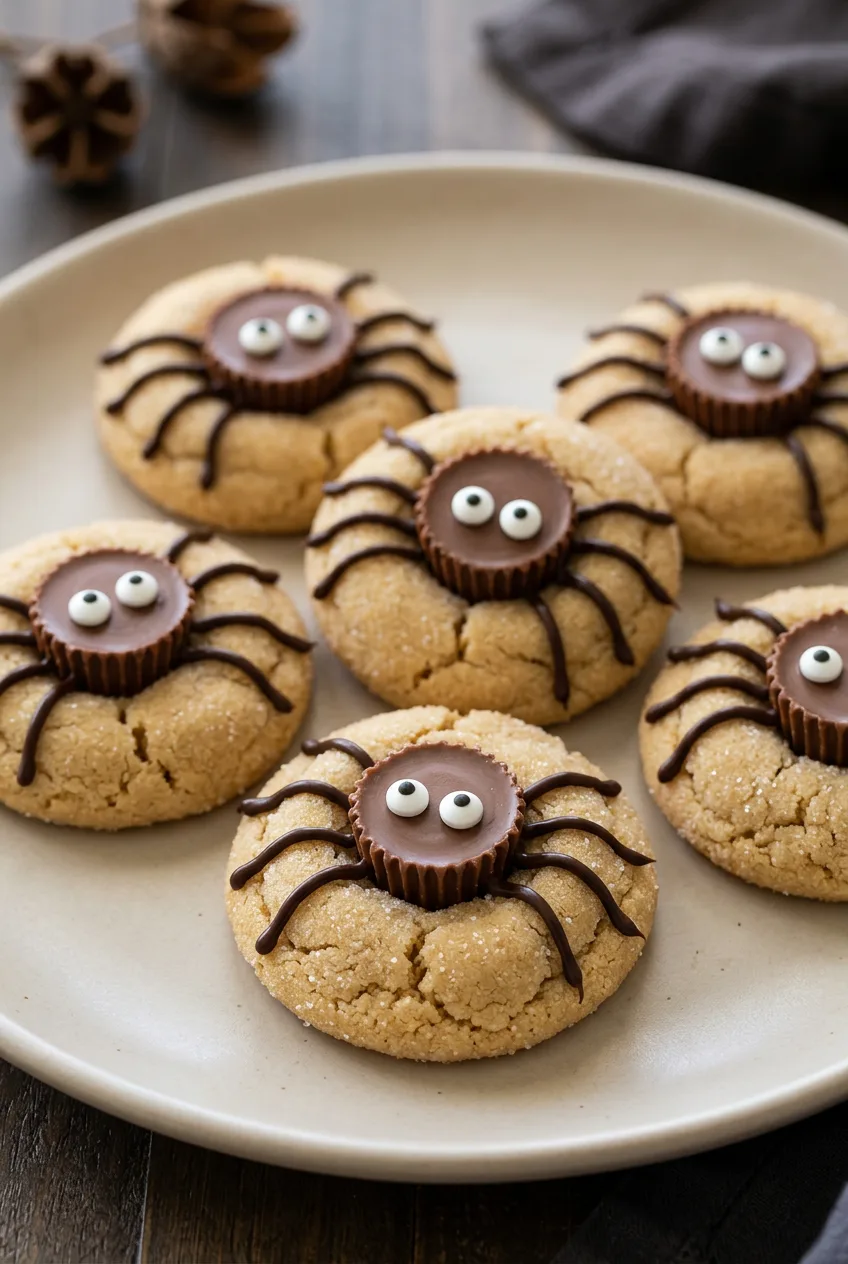
Peanut Butter Spider Cookies
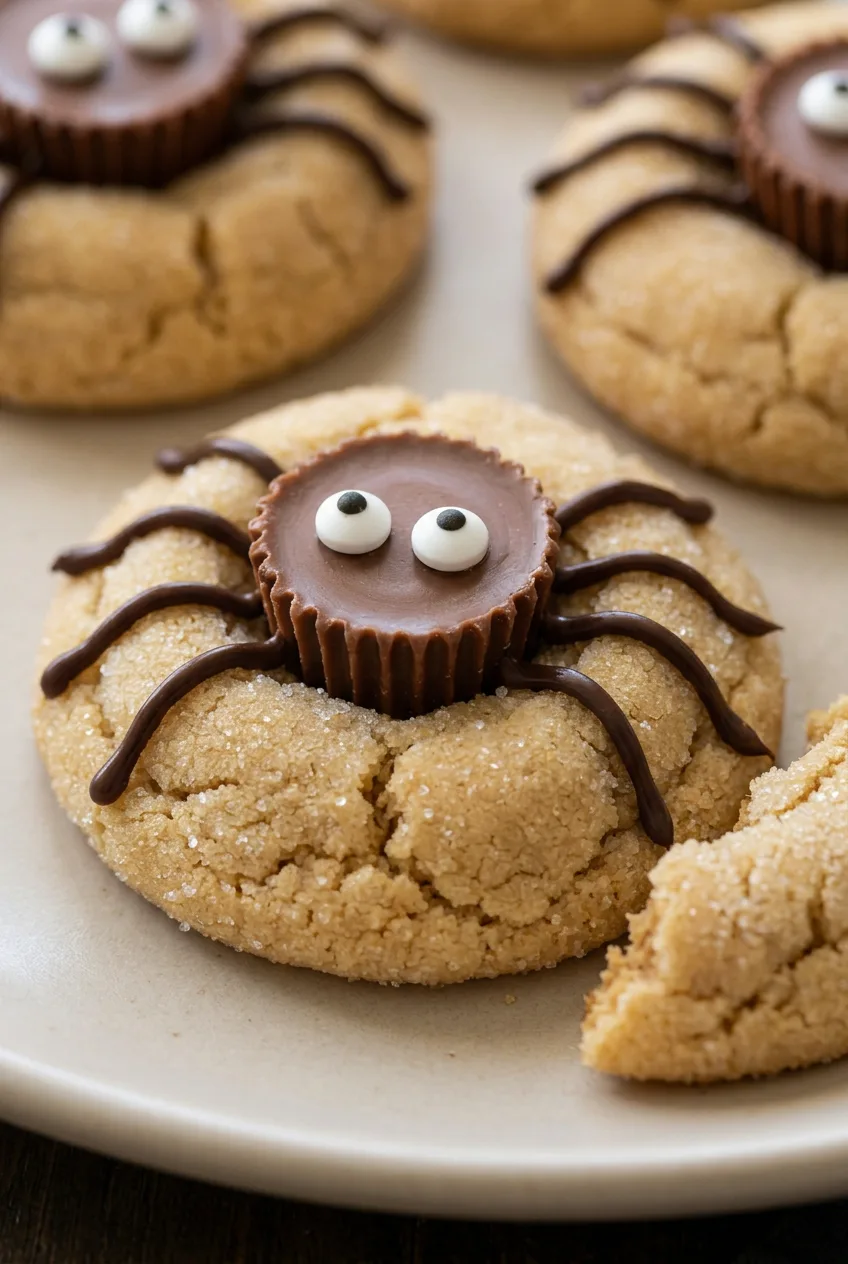
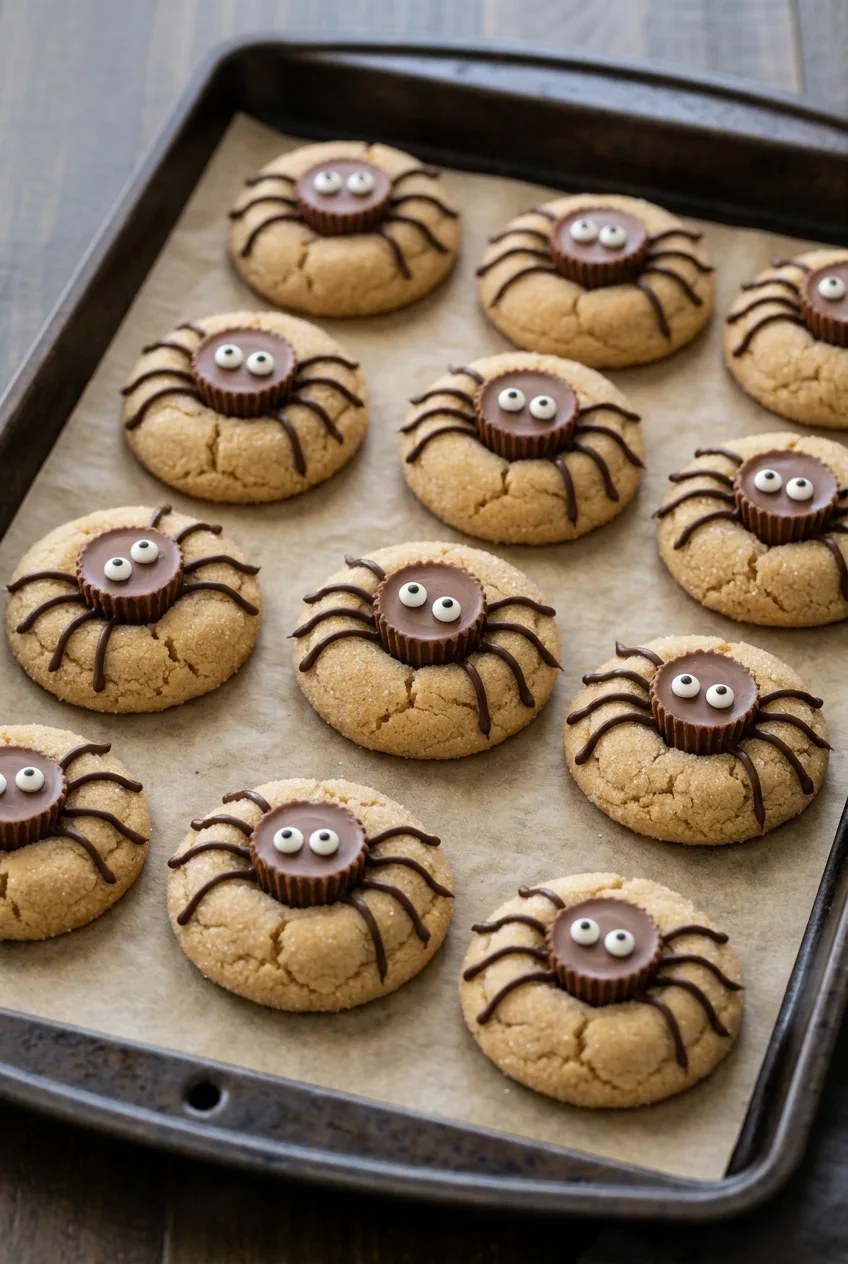
Soft peanut butter cookies become spiders with a miniature peanut butter cup for each body, two candy eyes, and eight piped chocolate legs. The cookies are lightly sugared, with crackled edges and centers that stay soft after cooling.
Unwrap and chill the peanut butter cups before baking so they’re ready to press into the warm cookies. Leave the cookies on the baking sheet until the bases stabilize, then wait until they’re completely cool before piping the legs.
Ingredients for Peanut Butter Spider Cookies
- 1 3/4 cups all-purpose flour (220g), spooned and leveled
- 1 teaspoon baking soda
- 1/2 teaspoon fine salt
- 1/2 cup unsalted butter (115g), softened
- 3/4 cup conventional creamy peanut butter (190g)
- 1/2 cup granulated sugar (100g), plus 1/4 cup (50g) for rolling
- 1/2 cup packed light brown sugar (105g)
- 1 large egg
- 1 teaspoon vanilla extract
- 24 miniature peanut butter cups, unwrapped and chilled
- 1/2 cup semisweet chocolate chips (85g)
- 48 small candy eyes
Use a conventional no-stir creamy peanut butter. Natural peanut butter with separated oil can change the dough’s consistency and is not a dependable direct substitute.
How to Make Peanut Butter Spider Cookies
- Chill the candy and prepare the pans: Unwrap the peanut butter cups and chill or freeze them on a small tray. Preheat the oven to 350°F (175°C). Line two large, light-colored baking sheets with parchment paper.
- Mix the dough: Whisk the flour, baking soda, and salt in a medium bowl. In a large bowl, beat the butter, peanut butter, 1/2 cup granulated sugar, and brown sugar until creamy. Beat in the egg and vanilla. Add the flour mixture and mix just until the flour disappears.
- Shape and coat: Scoop about 1 1/2 tablespoons of dough per cookie and roll into balls. Roll in the remaining 1/4 cup granulated sugar, then place about 2 inches apart on the baking sheets.
- Bake: Bake one sheet at a time for 9 to 11 minutes, starting to check at 9 minutes. The edges should be lightly golden and beginning to crack; the centers should look set but still soft. Do not wait for the cookies to become firm or deeply browned.
- Add the spider bodies: Immediately press one chilled peanut butter cup upside down into the center of each warm cookie, just firmly enough to seat it. Leave the cookies on the baking sheet for 15 minutes so the bases stabilize around the cups. Transfer carefully to a wire rack and cool completely.
- Pipe the legs and attach the eyes: Melt the chocolate chips in a microwave-safe bowl in 15-second intervals, stirring between each, until smooth. Transfer to a small piping bag or zip-top bag and snip a tiny opening. Pipe four thin, gently bent legs on each side of each cup. Dab two spots of fresh melted chocolate near the front of each cup and immediately attach the candy eyes.
- Let the chocolate set: Leave the cookies at room temperature for 20 to 30 minutes, or refrigerate briefly, until the decorations are firm. Serve in a single layer so the legs remain intact.
How to Keep the Chocolate Legs Neat
Wait until both the cookies and candy cups are cool before piping; warmth can make the chocolate run. A tiny opening gives you more control over the legs. If the chocolate thickens in the bag, warm the bag briefly in warm water while keeping the opening dry. If needed, stir up to 1/2 teaspoon neutral oil into the melted chocolate to loosen it. Let the legs set fully before moving or stacking the cookies.
Storage and Make-Ahead
Store fully set cookies in an airtight container at room temperature for up to 3 days, with parchment between layers. They can be refrigerated for up to 1 week; let them sit briefly at room temperature before serving for a softer texture. Do not reheat decorated cookies, as the chocolate can soften.
For a sturdy make-ahead option, freeze uncoated dough balls until solid, then store airtight for up to 3 months. Thaw briefly if needed to roll them in sugar, and bake using the visual doneness cues above. Fully decorated cookies can also be frozen in a rigid container for up to 3 months, but their chocolate legs may break during handling.
Nutrition
Yield: About 24 cookies. Approximate nutrition per cookie: 230 calories, 4g protein, 12g fat, and 28g carbohydrates. Approximate nutrition per 100g: 490 calories, 9g protein, 26g fat, and 59g carbohydrates. Values vary with the candy and finished cookie size.
Equipment
- 2 large baking sheets
- parchment paper
- mixing bowls
- whisk
- electric mixer
- cookie scoop
- wire rack
- microwave-safe bowl
- piping bag or zip-top bag
Ingredients
For the Peanut Butter Cookies
- 1 3/4 cups all-purpose flour (220g), spooned and leveled
- 1 teaspoon baking soda
- 1/2 teaspoon fine salt
- 1/2 cup unsalted butter (115g), softened
- 3/4 cup conventional creamy peanut butter (190g)
- 1/2 cup granulated sugar (100g)
- 1/2 cup packed light brown sugar (105g)
- 1 large egg
- 1 teaspoon vanilla extract
- 1/4 cup granulated sugar (50g), for rolling
For the Spider Decorations
- 24 miniature peanut butter cups, unwrapped and chilled
- 1/2 cup semisweet chocolate chips (85g)
- 48 small candy eyes
Instructions
- Unwrap the miniature peanut butter cups and chill or freeze them on a small tray.
- Preheat the oven to 350°F (175°C) and line two large light-colored baking sheets with parchment paper.
- Whisk the flour, baking soda, and salt in a medium bowl.
- Beat the butter, peanut butter, 1/2 cup granulated sugar, and brown sugar in a large bowl until creamy.
- Beat in the egg and vanilla extract.
- Add the flour mixture and mix just until the flour disappears.
- Scoop about 1 1/2 tablespoons of dough per cookie and roll into balls.
- Roll each dough ball in the remaining 1/4 cup granulated sugar and place about 2 inches apart on the prepared baking sheets.
- Bake one sheet at a time for 9 to 11 minutes, until the edges are lightly golden and beginning to crack while the centers remain soft.
- Immediately press one chilled peanut butter cup upside down into the center of each warm cookie.
- Leave the cookies on the baking sheet for 15 minutes, then carefully transfer them to a wire rack and cool completely.
- Melt the chocolate chips in a microwave-safe bowl in 15-second intervals, stirring between intervals, until smooth.
- Transfer the melted chocolate to a small piping bag or zip-top bag and snip a tiny opening.
- Pipe four thin, gently bent chocolate legs on each side of every peanut butter cup.
- Use fresh melted chocolate to attach two candy eyes near the front of each peanut butter cup.
- Let the chocolate decorations set at room temperature for 20 to 30 minutes, or refrigerate briefly until firm.
Tips
- Use conventional no-stir creamy peanut butter; natural peanut butter can make the dough too inconsistent.
- Chill the peanut butter cups before baking so they hold their shape when pressed into the cookies.
- Remove the cookies while their centers are still soft; they will finish setting as they cool.
- Wait until the cookies and candy cups are completely cool before piping the chocolate legs.
- Use a very small piping-bag opening for cleaner, more controlled legs.
- If the melted chocolate thickens, briefly warm the bag in warm water while keeping the opening dry.
