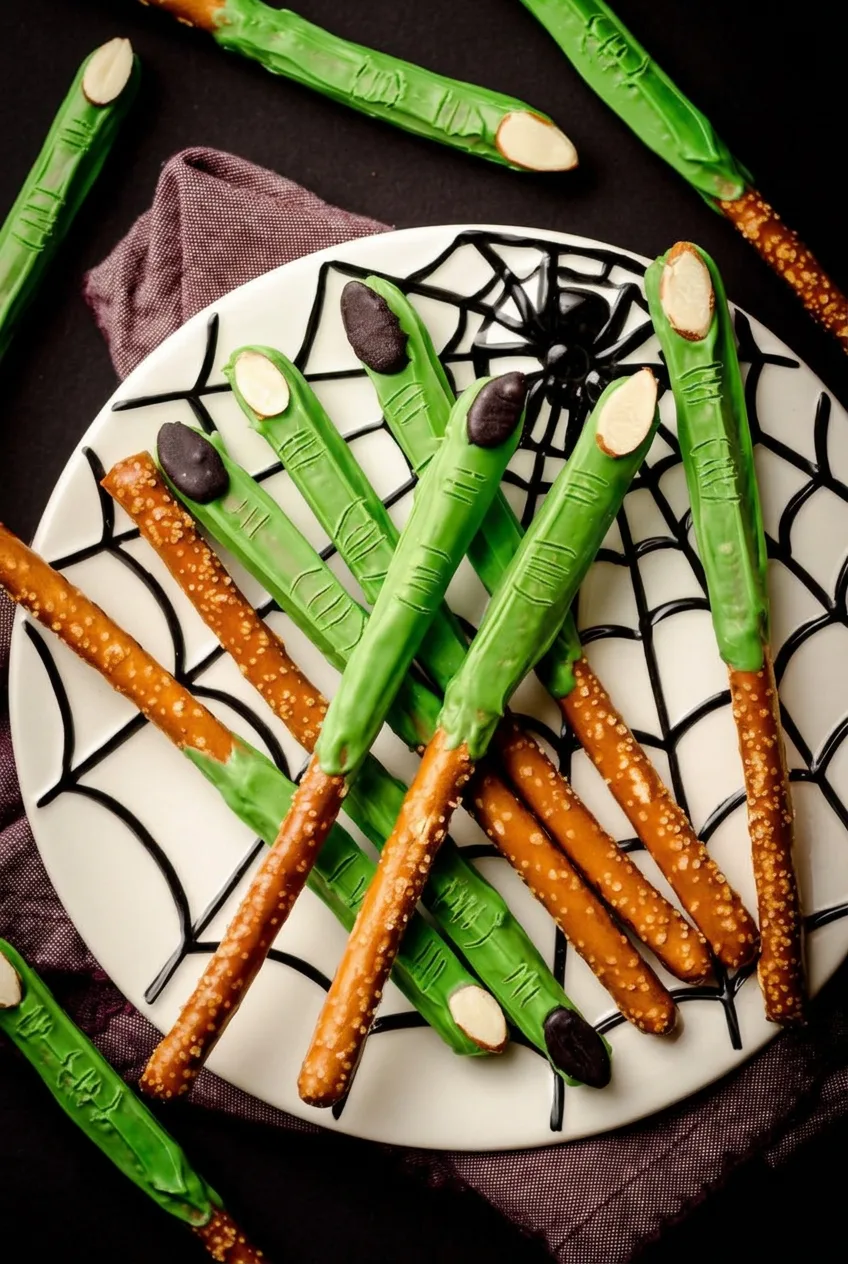
Witch Finger Pretzel Rods
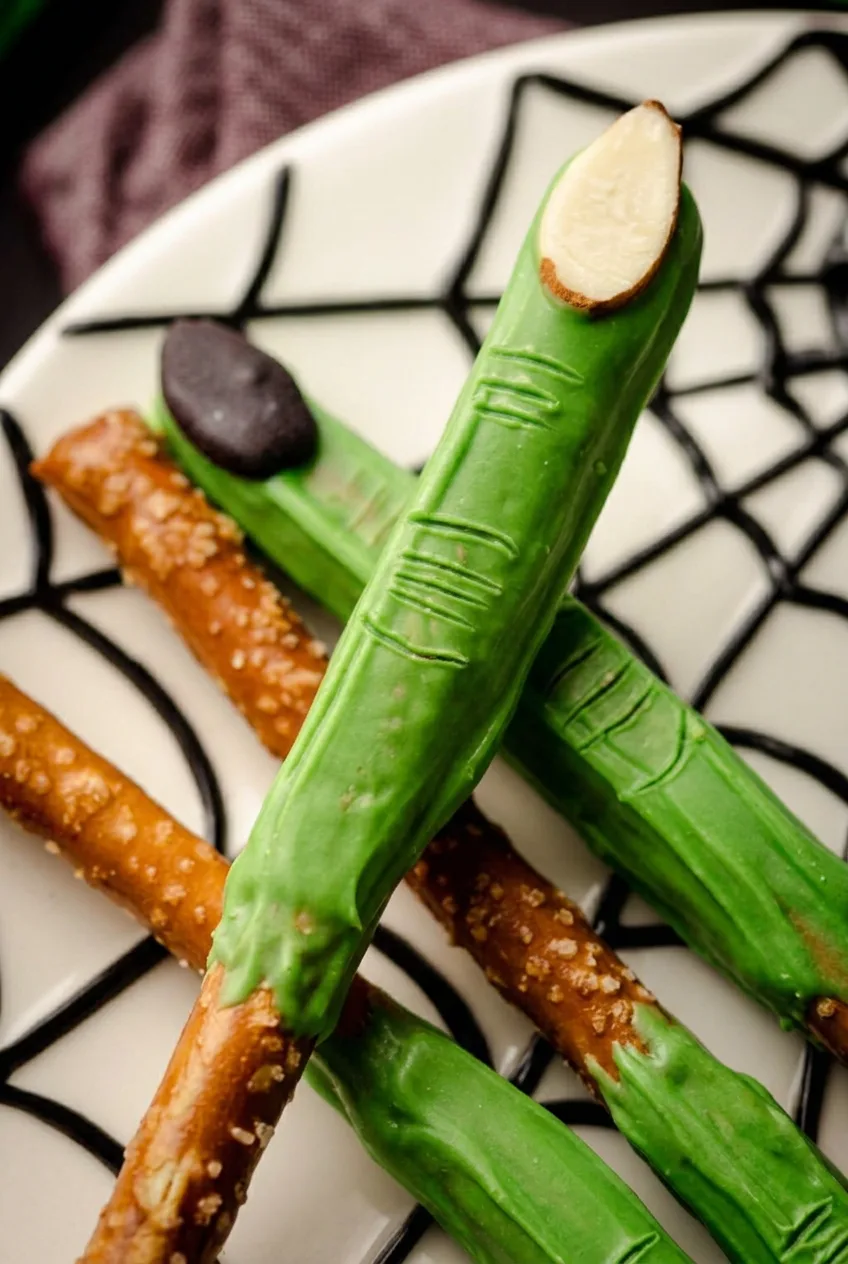
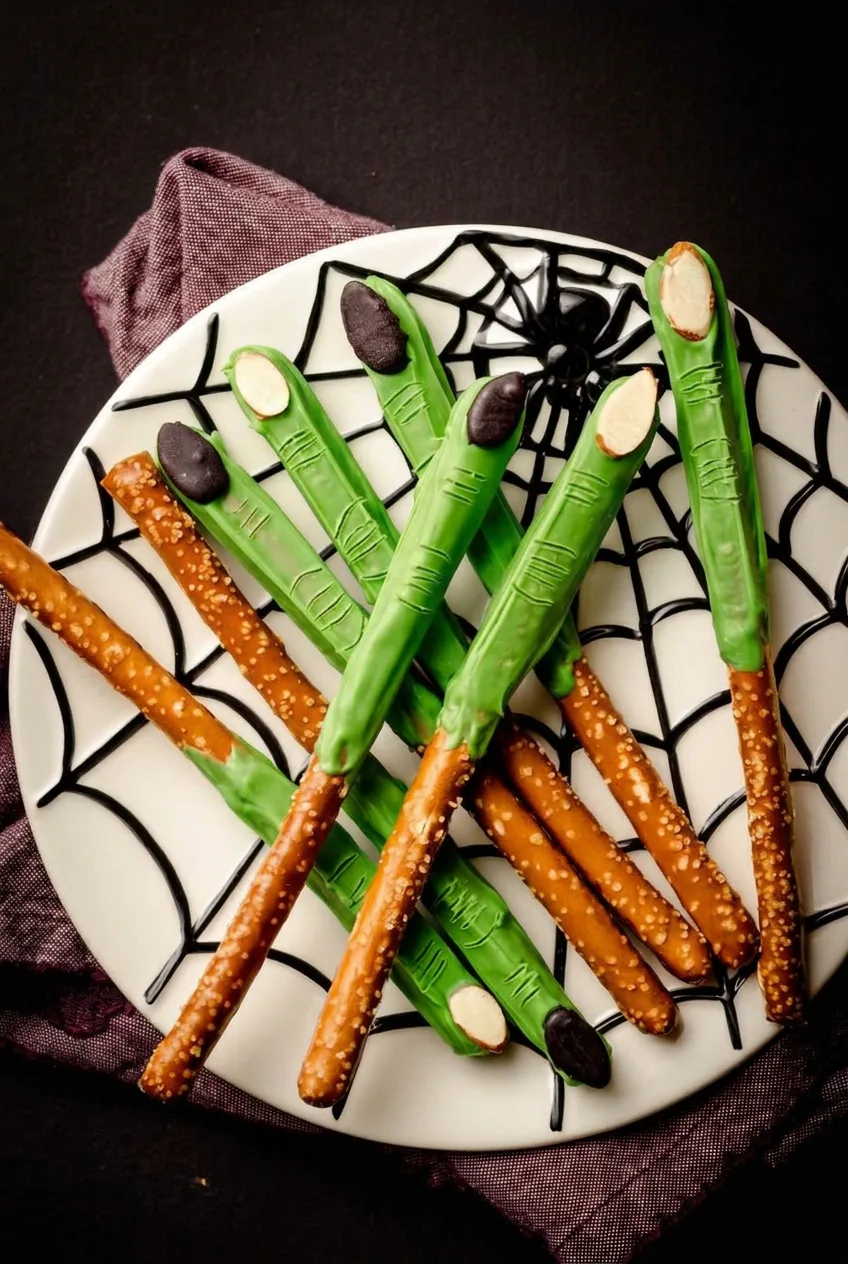
Whole salted pretzel rods become long witch fingers when their upper two-thirds are dipped in bright-green candy coating. The exposed ends stay crisp and give guests a clean place to hold them. Almond fingernails and toothpick-made knuckle wrinkles complete the shape.
Press the nails on while the coating is soft, but wait until it looks mostly matte before marking the wrinkles. A mix of natural and black-coated almonds adds contrast, and a slightly uneven green shell suits the handmade look.
Ingredients for Witch Finger Pretzel Rods
- 12 large salted pretzel rods (about 150g)
- 16 ounces green candy melts or green candy coating (about 450g)
- 12 whole almonds, blanched or skin-on (about 15g)
- 2 ounces black candy melts or dark chocolate (about 55g), for coating 6 almonds
Black candy melts give the nails a nearly black finish; dark chocolate will make them dark brown. Keep the almonds, bowls, and utensils dry, since moisture can make melted candy coating thicken or clump.
How to Make Witch Finger Pretzel Rods
- Prepare the tray and nails: Line a rimmed baking sheet with parchment paper or a silicone mat. In a dry microwave-safe bowl, melt the black candy melts or dark chocolate in short bursts at 50% power, stirring between bursts. Dip or brush the visible face of 6 almonds and let them firm up. Leave the other 6 natural.
- Melt the green coating: Microwave the green candy melts in a dry bowl at 50% power in 15- to 20-second intervals, stirring well after each. Stop heating when a few pieces remain, then stir until smooth. Transfer to a tall, narrow heat-safe cup for dipping.
- Dip the rods: Working one at a time, coat the upper two-thirds of each whole rod, leaving about 2 1/2 to 3 inches of brown pretzel exposed. Lift and rotate the rod over the cup, gently tap off excess coating, and place it on the lined tray with space around it.
- Add the nails: Immediately press one almond lengthwise onto each coated tip, with its pointed end facing the exposed handle. Use 6 natural and 6 dark-coated almonds, pressing just enough to secure them in the soft coating.
- Mark the knuckles: Check the first rods as you continue dipping. When the coating looks mostly matte but still yields to a toothpick, indent two or three short horizontal wrinkle lines on each finger. If the toothpick pulls up sticky strands, wait a little longer; if the coating cracks, it has set too far.
- Let them set: Leave the rods uncovered until the coating is firm and dry to a gentle touch and the nails stay in place, usually about 15 to 25 minutes at room temperature. A brief refrigerator chill can speed setting if needed; bring the rods back to room temperature before serving.
Keeping the Coating Easy to Dip
A tall, narrow cup helps coat the long finger portion without covering the handle. If you do not have one, roll the upper portion of each rod in coating spread in a narrow, shallow dish. The coating line may be less even, but the brown handle should remain visible.
If the coating stiffens while you work, stir it before heating it again. Use another short microwave burst only if needed, and do not add water or water-based coloring. A slightly ridged coating is fine; it does not need to be perfectly smooth.
Serving and Variations
Fan the finished rods on a Halloween platter with their exposed handles facing outward. For a larger dessert tray, add Pumpkin Rice Krispie Treats with Pretzel Stems or Peanut Butter Spider Cookies.
For a simpler look, leave all 12 almond nails natural. The standard recipe contains tree nuts. If you need a nut-free version, use shaped fondant nails, dark licorice pieces, or chocolate-dipped candy corn instead, and check all packaged ingredients for allergen suitability. These nails will look different from almonds.
Storage and Make-Ahead
Once the coating is completely hard, store the rods in an airtight container at room temperature. Place parchment between layers if stacking them to protect the nails and wrinkles. For the best crunch and appearance, serve within about one week. No reheating is needed.
Nutrition
Approximate nutrition per witch finger pretzel rod, based on 12 rods: 280 calories, 2g protein, 12g fat, and 40g carbohydrates. Per 100g: approximately 495 calories, 4g protein, 22g fat, and 71g carbohydrates. Values are estimates and will vary with the ingredients and how much coating remains on each rod.
Equipment
- Rimmed baking sheet
- Parchment paper or silicone mat
- Microwave-safe bowls
- Tall narrow heat-safe cup
- Toothpick
Ingredients
Witch Finger Pretzels
- 12 large salted pretzel rods (about 150 g)
- 16 ounces green candy melts or green candy coating (about 450 g)
- 12 whole almonds, blanched or skin-on (about 15 g)
- 2 ounces black candy melts or dark chocolate (about 55 g)
Instructions
- Line a rimmed baking sheet with parchment paper or a silicone mat.
- Melt the black candy melts or dark chocolate in a dry microwave-safe bowl in short bursts at 50% power, stirring between bursts.
- Dip or brush the visible face of 6 almonds with the black coating, then let them firm up. Leave the remaining 6 almonds natural.
- Melt the green candy melts in a dry microwave-safe bowl at 50% power in 15- to 20-second intervals, stirring well after each interval. Stop when a few pieces remain and stir until smooth.
- Transfer the melted green coating to a tall, narrow heat-safe cup.
- Dip the upper two-thirds of each pretzel rod in the green coating, leaving 2 1/2 to 3 inches of pretzel exposed as a handle.
- Lift and rotate each rod over the cup, gently tap off excess coating, and place it on the lined baking sheet.
- Immediately press one almond lengthwise onto the coated tip of each rod, with the pointed end facing the exposed pretzel handle. Use 6 natural almonds and 6 dark-coated almonds.
- When the coating looks mostly matte but still yields to a toothpick, make 2 or 3 short horizontal wrinkle marks below the nail to create knuckles.
- Let the pretzel rods stand uncovered until the coating is firm and dry to a gentle touch, about 15 to 25 minutes at room temperature.
Tips
- Keep the almonds, bowls, and utensils completely dry so the candy coating does not seize or clump.
- Use a tall, narrow cup to coat the finger portion while keeping the pretzel handle exposed.
- Press the almond nails into the coating while it is still soft.
- Wait until the coating is mostly matte before making knuckle marks with a toothpick.
- If the coating thickens, stir it first and reheat only briefly if needed.
- Do not add water or water-based food coloring to melted candy coating.
Variations
- Natural Almond Nails: Leave all 12 almond nails uncoated for a simpler look.
- Nut-Free Witch Fingers: Replace almonds with shaped fondant nails, dark licorice pieces, or chocolate-dipped candy corn, checking packaged ingredients for allergens.
